Do you guys ever feel like sometimes you just want a simple DIY project? Like really. They can get SO complicated and supply heavy (3/4” wood cut to 16×98’, 2/3” roofing nails, sliding compound miter saw, 16 of your favorite drill bits, a master electrician license, and the blood of a virgin unicorn.)
Sometimes I just want to make something. I don’t want to have to run to Home Depot 15 times. I want 1 thing on my supply list. A paint brush (and obviously paint.)

Since the very beginning of time (blog time) I have shared my undying devotion for Purdy paint tools. There are VERY FEW things in life that are more calming than petting a brand new XL Purdy paintbrush (don’t act like you’ve never done that.) So I thought that it would be really fun to do 3 really simple projects that require just a paintbrush.
The reason that Purdy tools win the universe is because of their amazing quality. Each brush is made by a brushmaker and has their name on it (personally I am a big fan of Emma’s work). Before I really got into DIY I couldn’t understand why you would spend $12.00 on a brush when you could get one for $2.99. You guys. There are many a thing that go into a great paint finish and the tool that you use is THE MOST important part. In the case of brushes you absolutely get what you pay for. I mean, do you want all the trim in your house to look like the Grand Canyon? Cause it will if you don’t use the right tools, Regardless of how great and wonderful the paint is, if you use crappy tools you are going to get a subpar finish. But a great brush? A great brush can be used for a myriad of projects from furniture painting to cutting in. One thing that I love about Purdy brushes is that no matter how many projects they’ve been used on, they always are up for another one. Cheap quality brushes get bedhead bristles (you know the wild and crazy ones that have a mind of their own?) Basically what I am saying is, if you are going to invest the time to do a project make sure that you aren’t sabotaging yourself by using low quality tools.
Now that I am off my soapbox, lets get to the projects shall we?
First up is a simple circle wall treatment.

Start by drawing a large circle by tying a pencil to one end of string and a nail to the other. Put the nail right in the center of where you want your circle to be, stretch the string out as far as it can go. Keeping it taught, draw a circle all the way around.
I wanted mine to be a little brushstrokey <—totally a word. and undefined on the edges (but still a perfect circle) so I started by painting right along the inside edge of the line (the line is super light in the picture below)

Once you’ve established where the edge of your circle is, soften it by very lightly brushing on the outside of it. You don’t want gobs of paint for this or it will turn your circle into a wonky blob. Just a teeny bit of paint to soften the edge.

Fill it in (again don’t make it perfect, we are going for a little bit of variation folks.)

Then you get to make it your own.

Project #2 involves channeling your inner kindergartener. Brushstroke Art.

The whole key to this project is using the right amount of paint and a flat ended brush (like the XL brush). You want to see a little bit of bristle separation when you look at the end of it instead of something that is completely coated with paint.


Really the only thing to remember is to not over saturate your brush and you’ll be golden! After a few lines step back and give it a once over before you add more, that way you can see where its feeling a little empty before it gets too crazy.

For project #3 you’ll need a planter and the same flat ended XL brush that we used in project #2. The only difference is that this time you do want your brush to be saturated with paint.

Starting at the bottom of your planter dab the brush at an angle all the way around. For the next row swap sides and go at a different angle. Repeat until you are at the rim of your planter.


The thing that I love most about projects like this is that you can do them in just a few minutes and they are sort of fool proof.

MASSIVE thank you to Purdy for teaming up with me on this post. You guys, if you haven’t tried Purdy tools it will change your life. Like you’ll probably want to kiss me when we finally meet. It’s fine. We can hug it out instead.

LOVE your projects and LOVE Purdy brushes and paint tools! they make the job so much easier and look so much nicer than less costly brushes.
I share your LOVE for Purdy! For Christmas everyone brings a $15.00 gift that we then use for prizes when we play games. The Purdy paint brush that I brought was the most “stolen” prize!
I love these simple projects that add a fun pop of color! Thanks for sharing!
http://www.sweetlytattered.com
Beautiful artwork there on No. 2…. I’ve seen similar pieces for sale in galleries that you wouldn’t belive the price on. Great ideas.
In project #2 what surface were you painting on?
Foam Core! Its mounted in a basic IKEA frame
Cool! Thanks for the speedy reply!
We love PURDY brushes too! We are currently renovating and preparing to open our studio and storefront and we wouldn’t settle for anything but Purdy brushes to paint the space. As always, love your projects!
Totally agree, the right tools make all the difference, especially when it comes to paint! I’ll have to see if I can track down these brushes on amazon, the selection in our hardware stores is really limited.
Really simple & great projects! Love the circle project, so many different ideas come to mind when I saw that! Thanks for sharing!! 🙂
I love how you painted the circle and mounted a shelf on it. What a fun way to highlight some favorite collectibles.
Mandi! That Aztecy Southwest pink pillow is EXACTLY what I have been looking for! I can’t seem to find one without spending a fortune tho!! Any suggestions?? I don’t live in the SW so it’s hard to find stuff like that laying around at Goodwill.
Hey Ryesha! I bought it at Urban Outfitters and it wasn’t super cheap dang it!!
xo
m
Hi Mandy,
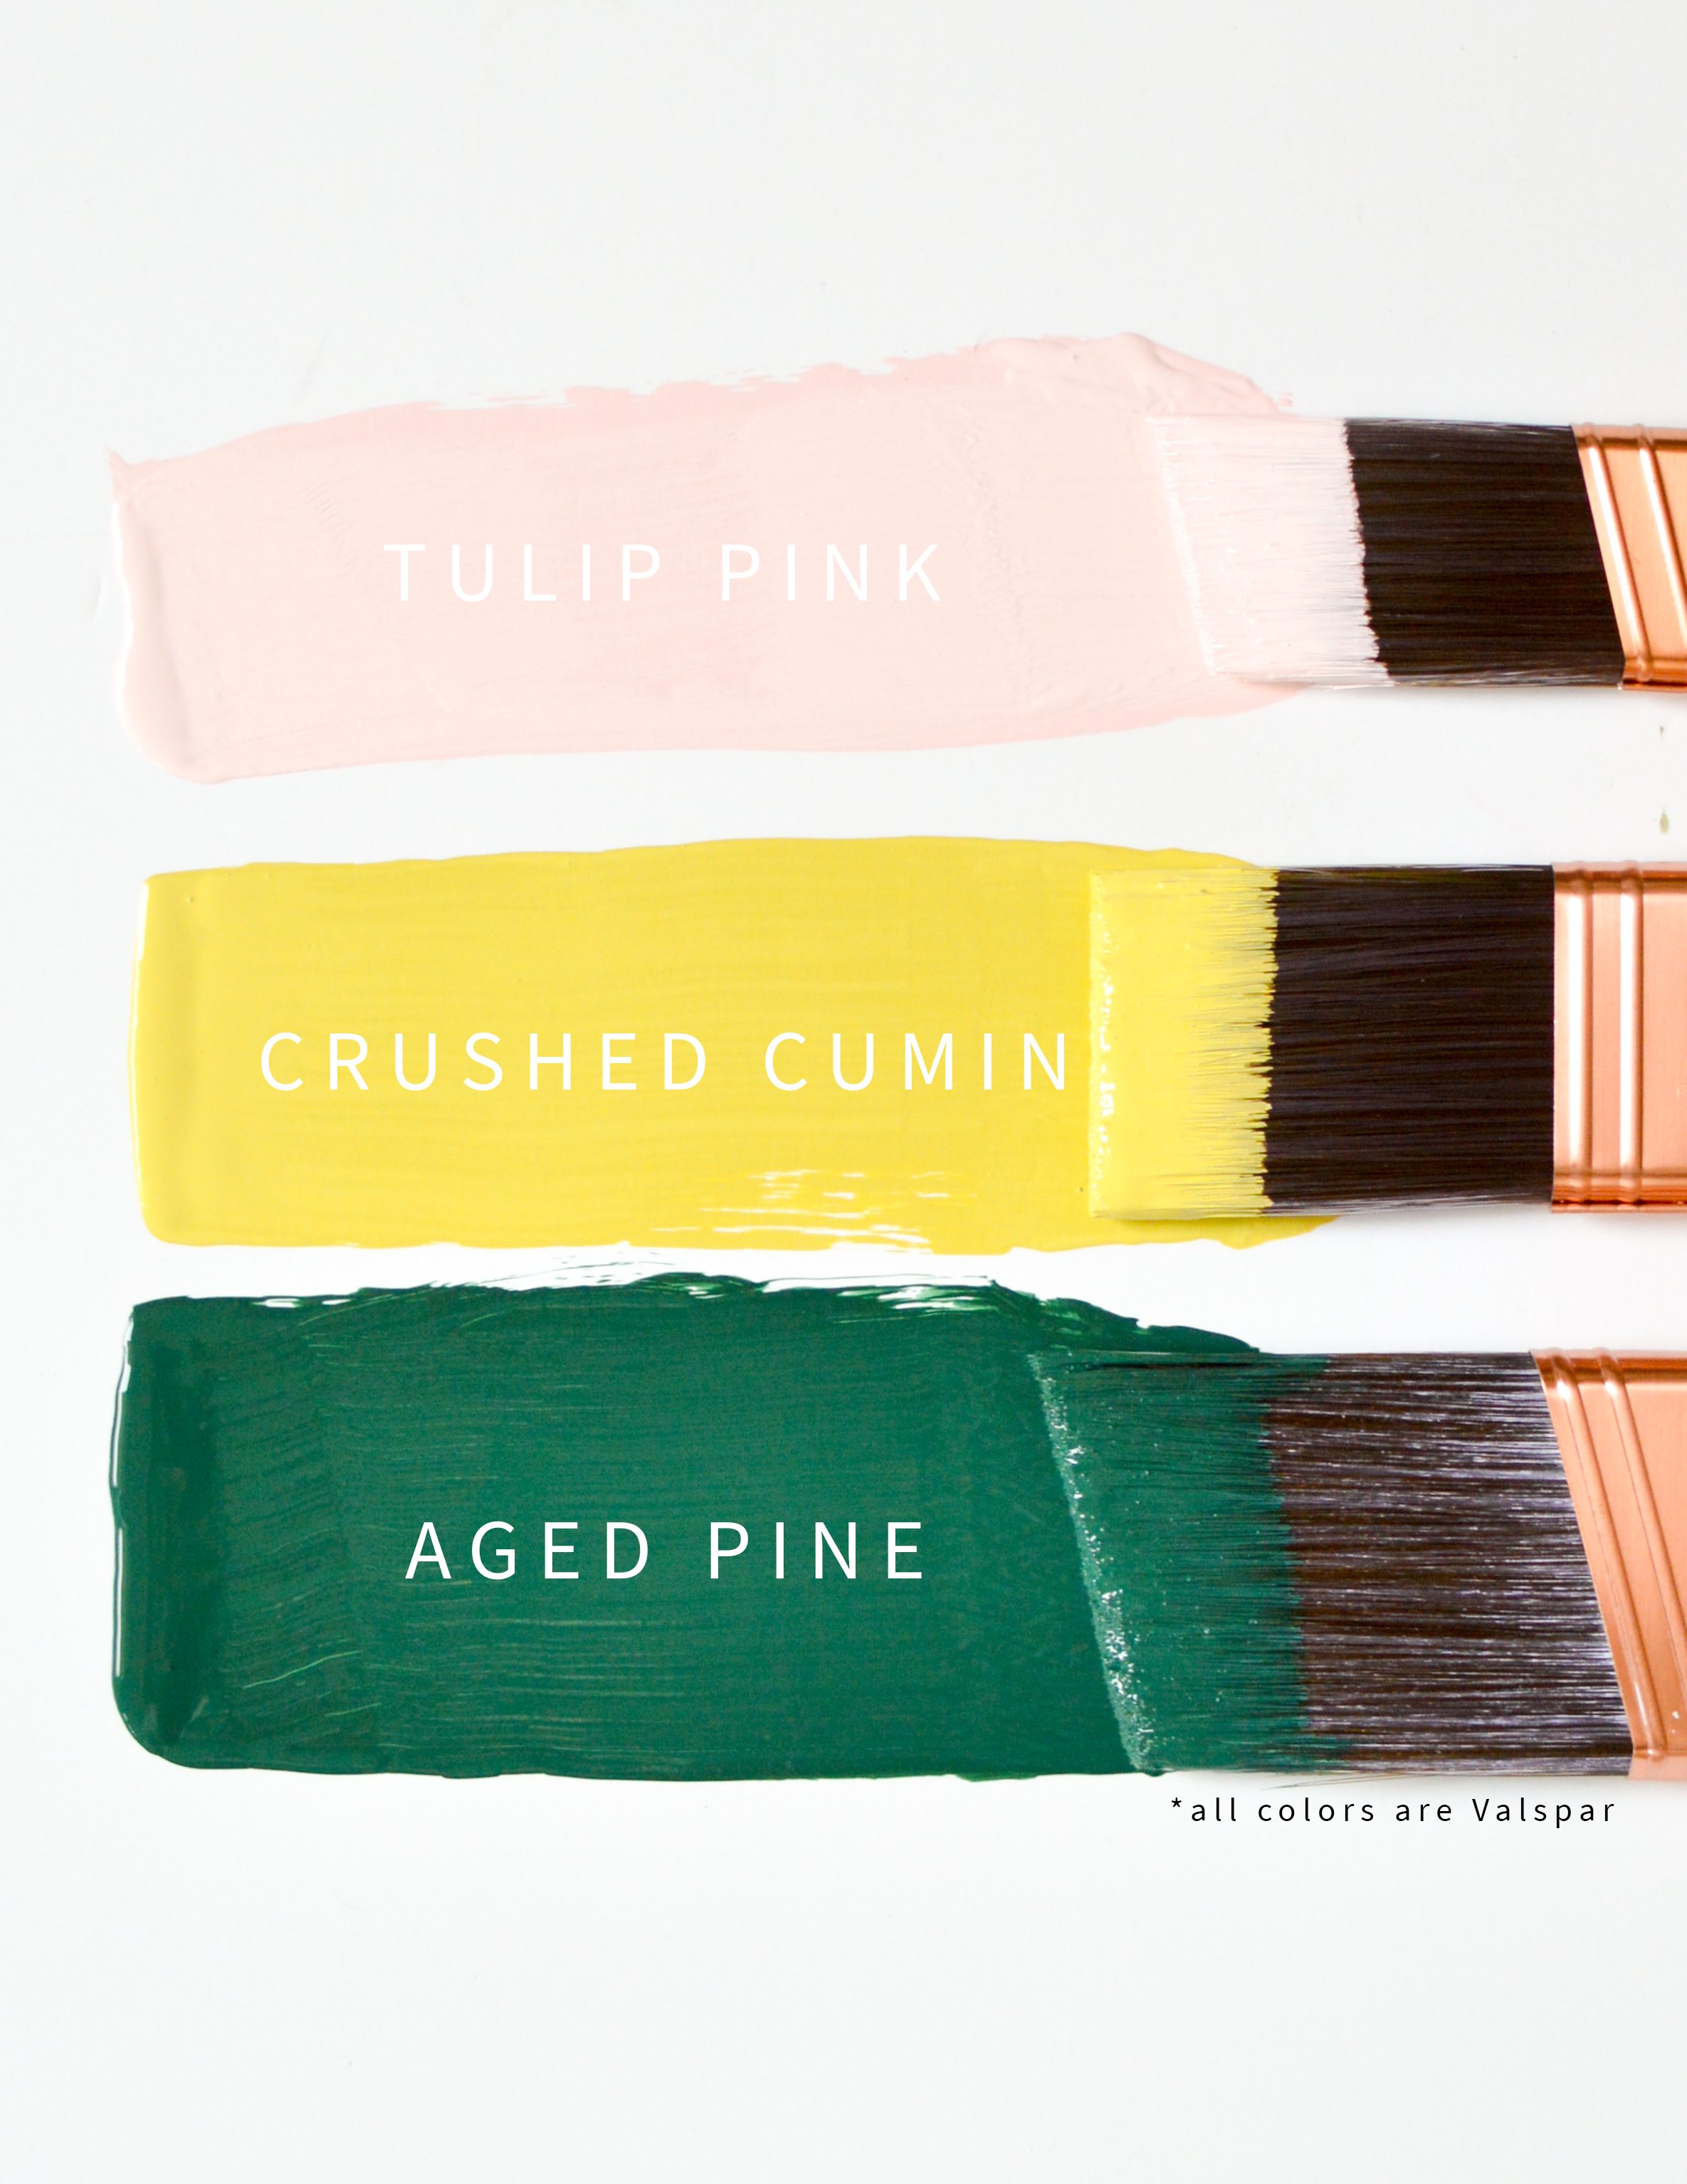
Can you tell me the paint colors used in these projects? Just love them together and I thought they were perfect for my daughter’s “big girl” room.
Thanks!
Awesome! Your posts are hilarious, I love the second project. Is that exposed brick inside your house? I’m jealous!
Love these ideas! What is the beautiful pink paint color you used in a the first project?
Thanks,
Camille
I agree with Camille! Please share this lovely, blushy color.
I’ve been looking for some better quality brushes for awhile now but I’m never quite sure which ones are worth the money. Right now I’m agonizing over whether or not to paint my antique table. I’d love any and all input!
https://www.alittledailyhappiness.com/to-paint-or-not-to-paint/
I cannot recommend Purdy brushes enough! Brilliant for a clean edge, and they last.
Damn cool idea Mandi! Damn Damn Damn cool!
Lovely little projects! I’ve especially been holding out for the circle. I just love it!
My oldest one is 23 yrs. and counting!! And it’s actually my favorite because I took care of it and not brush worked 12 hours a day every day on film sets! Crappy brushes are for crappy things. And glue! Lol
Under $20 is nothing for a good tool that will last you years and years it’s just that most people are too lazy to keep a brush clean …those people deserve throwaway brushes!!