You guys know that I love a good shelf build. Lately the obsession has been with floating shelves, but I got the idea the other day for one that I just had to try out!

You’ll need:
1”x2”x8’ board
1”x8”x4’ board
Picture Hangers
Wood Glue
Finishing Nails and/or Wood Screws
Start by cutting your 1×2” board into 4 pieces. Mine are 32”and 10” with a 45 degree angle on each end.

Attach the boards to make a rectangle.

Use wood glue and finishing nails and make sure that your edges line up!

The next step is to attach the 1×6 that makes up the actual shelf. I decided to use screws for this instead of finishing nails, but you can use whichever you prefer.
If you are using screws make sure to drill pilot holes first so that you don’t split your wood!


Next cut 2 boards down that measure 11 1/2”. On one end cut a 30 degree angle, and on the other cut a 60 degree angle. (because we are working within the 90 degree angle the shelf makes your angles should always add up to 90)


Find (and lightly mark) the center of your shelf then measure out 2” on either side. This is where the inside edge of your angled boards are going to line up.

Attach with wood glue and let them dry!

Once everything is dry, flip your shelf over and attach the heavy duty picture hangers.

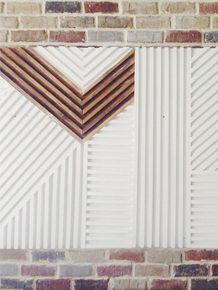
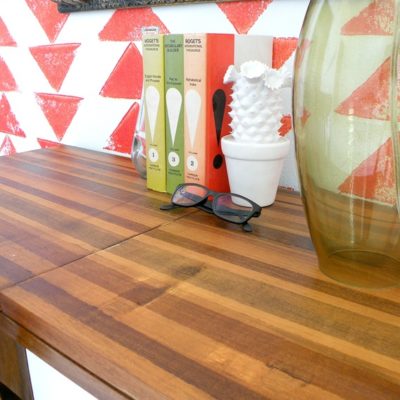
So much cuteness right?!

I staged it with some thrifted treasures that I had laying around.


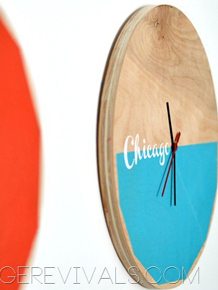
I am LOVING these watercolor circles! Where do you have them in your house?
Love it, and the circle is perfect to enhance it
Super cute, as always! Love the circle too!
Love the geometric look of this shelf! Thanks for sharing! XX
https://hannahhappily.blogspot.com
Just love the simplicity and the natural wood look. Wish I had the space for a giant miter saw, is there anything else you can recommend to get clean angled cuts?
You totally don’t need to invest in a giant one. Ryobi has one that is around $150 (I think) that is a really manageable size!
xo
m
PERF. Never thought of that. I’ve been wanting one for soo long! Extra cheap since I already have the 18V ONE+ batteries 🙂 Thx Mandi!
I really like this, I’ve been trying to find an easy DIY shelf that I could put up both in my room and my daughter’s room. The simple wood working projects are the best for my husband who likes to do these quick little things (: I just found your blog recently and I really like what I am seeing.
Love this design!!! Nice work!
I love it! Such a great idea!
I am wondering where you hung it in your home? I have the luxorious problem that slowly my entire house is getting completely decorated. I have so many DIY ideas but, where do I put all my projects when I am done? In my experience giving away / selling doesn’t really work and I’d hate to make something just to bring it to the thrift store when I am done!
Share how you created the cool circle? I think I know A way to do it but you always do things easier than I imagine!
Love the circle! Do you have a tutorial or tips you could share? I saw your watercolor circle wall art tutorial (which is awesome!) but this is such a nice subtle element to add to the wall.
Love the watercolor circle. How did you do it?
I made a small shelf for my projection clock, and my rain gauge readout, by taking a cardboard box top, turning it upside down, and using 1/4 inch double-faced foam tape to attach to the wall over my bed. The cord to the clock goes through a small hole punched through the cardboard. It is plenty strong enough, and appears to float on air.