Hey guys!!
I have the simplest tutorial for you today!! Since we are still wrapping up The Nugget series, and this baby couldn’t be missed! (Don’t worry, the light tutorial is coming next!)
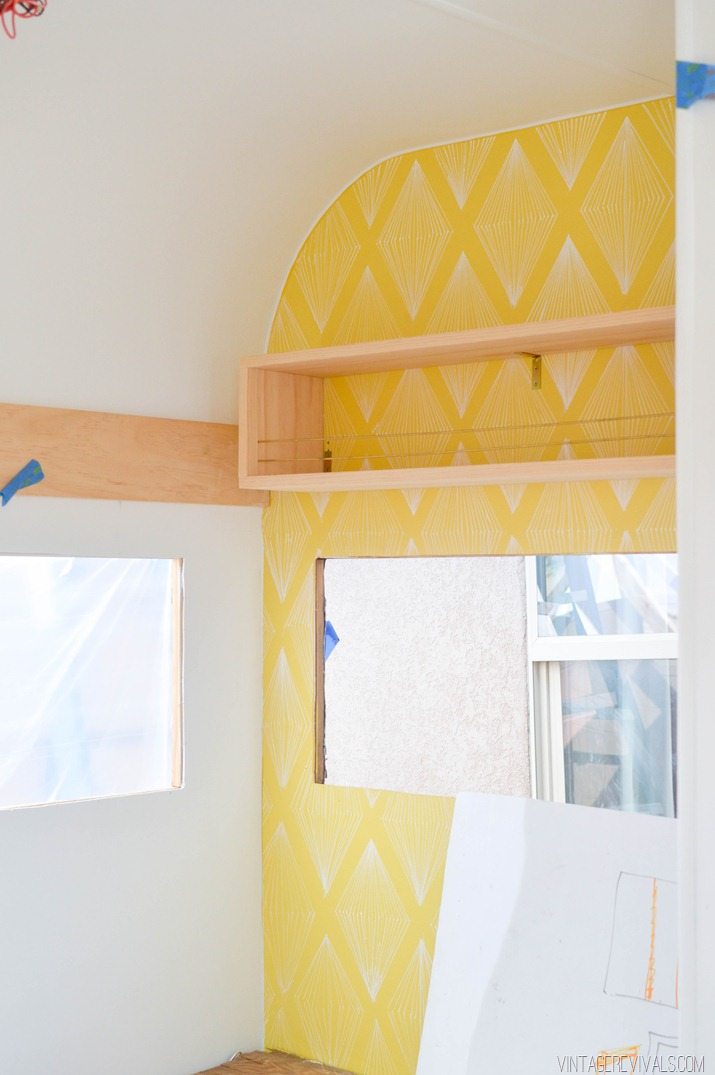
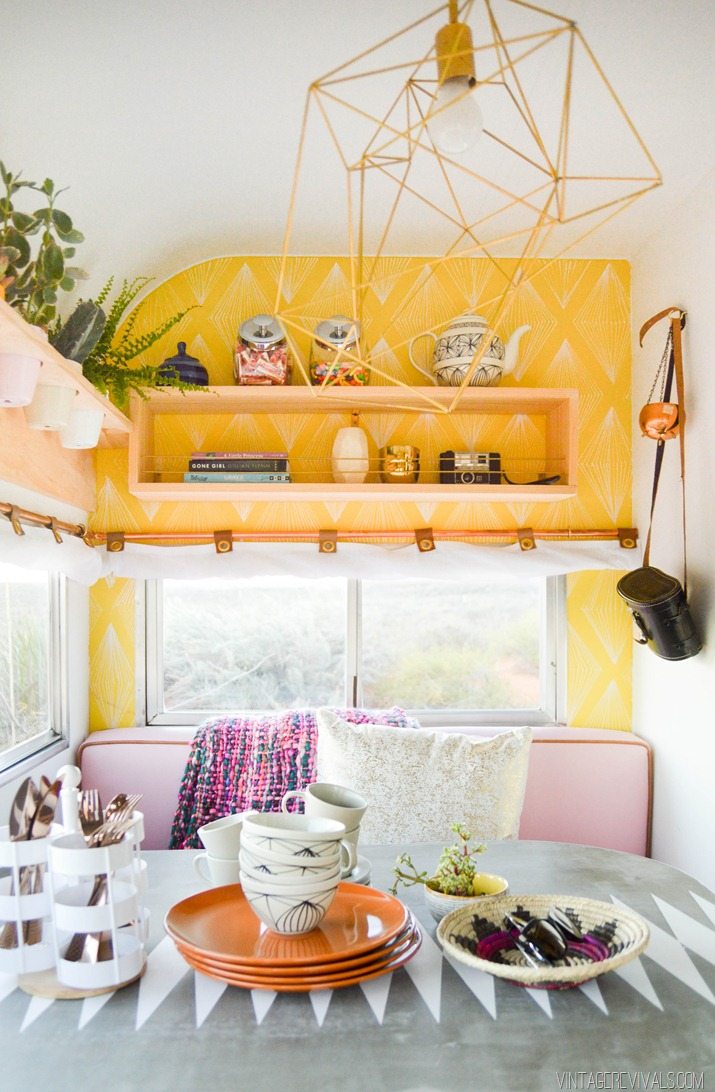
I obviously wanted a shelf above this little window because that would be adorable, but I also needed to be able to store things in it while we were travelling.
This simple box shelf is what I came up with. It would be SO cute in a bathroom!!
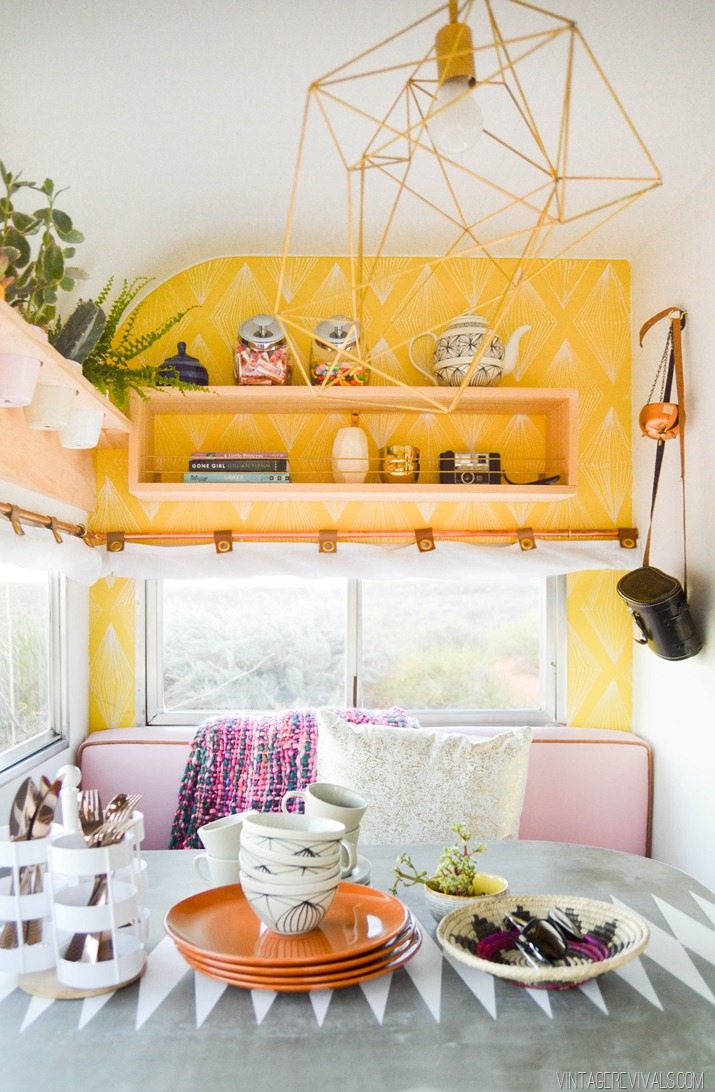
Here is how we made it.
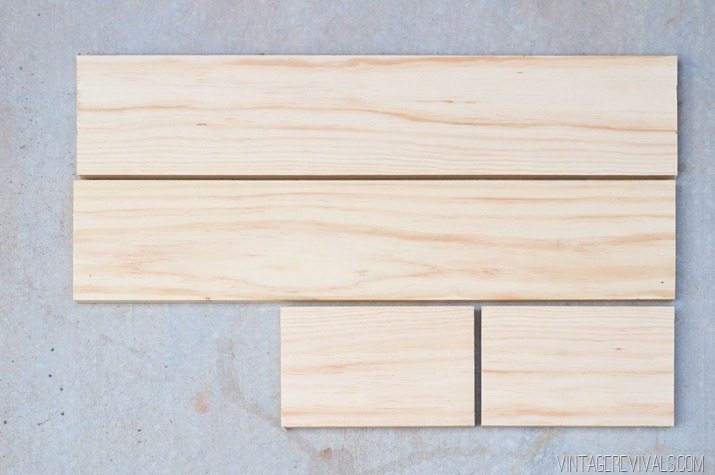
Start by cutting premium pine to the width of your shelf (the long pieces) and the height of your shelf (the short pieces)
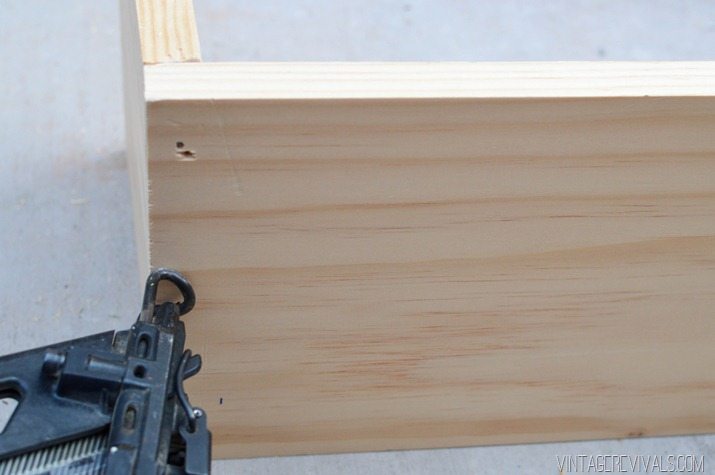
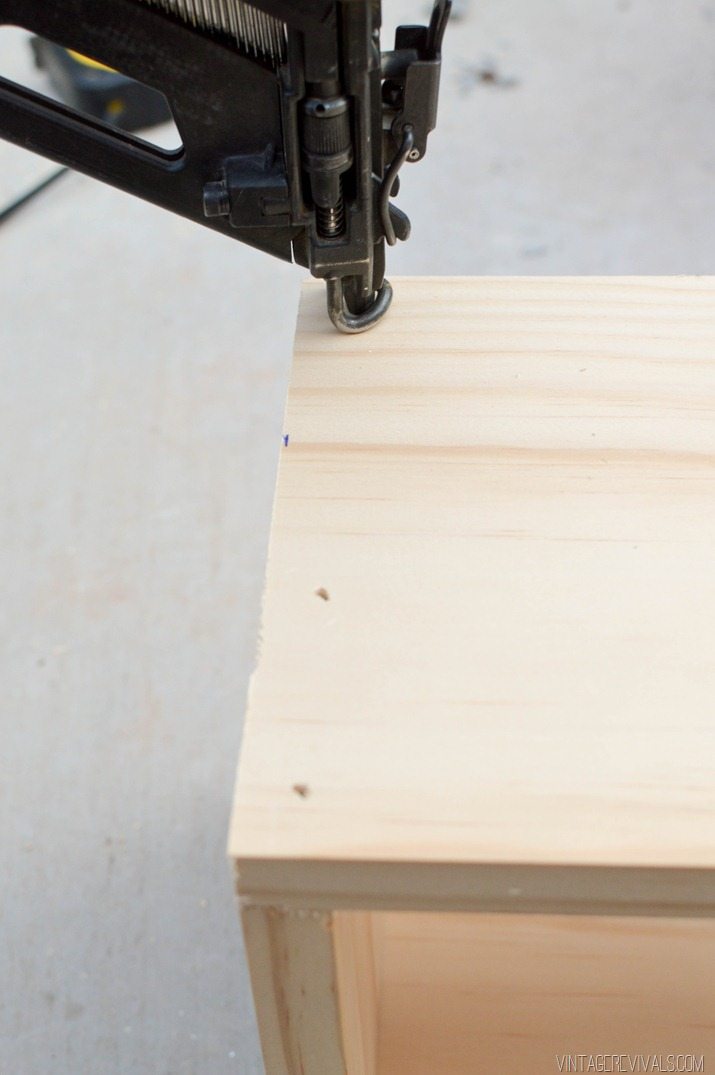
Using wood glue (I love Titebond III) and finishing nails, attach the long pieces to the tops of the shorties.
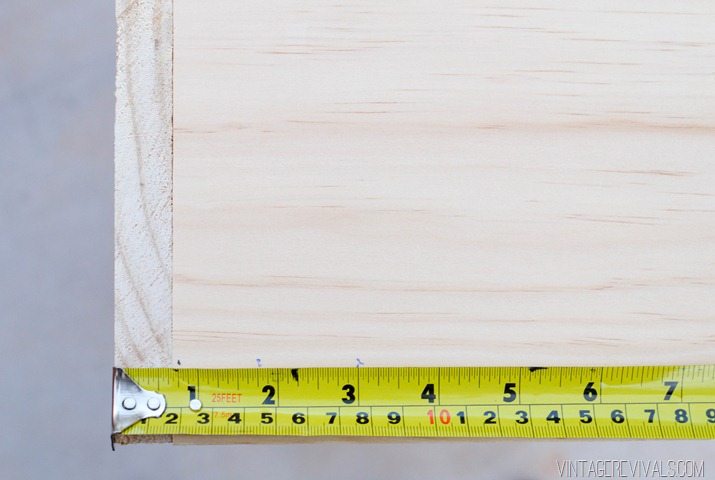
When our box was built, we measured in 1 3/4 and 3 inches on both sides for the brass rods.
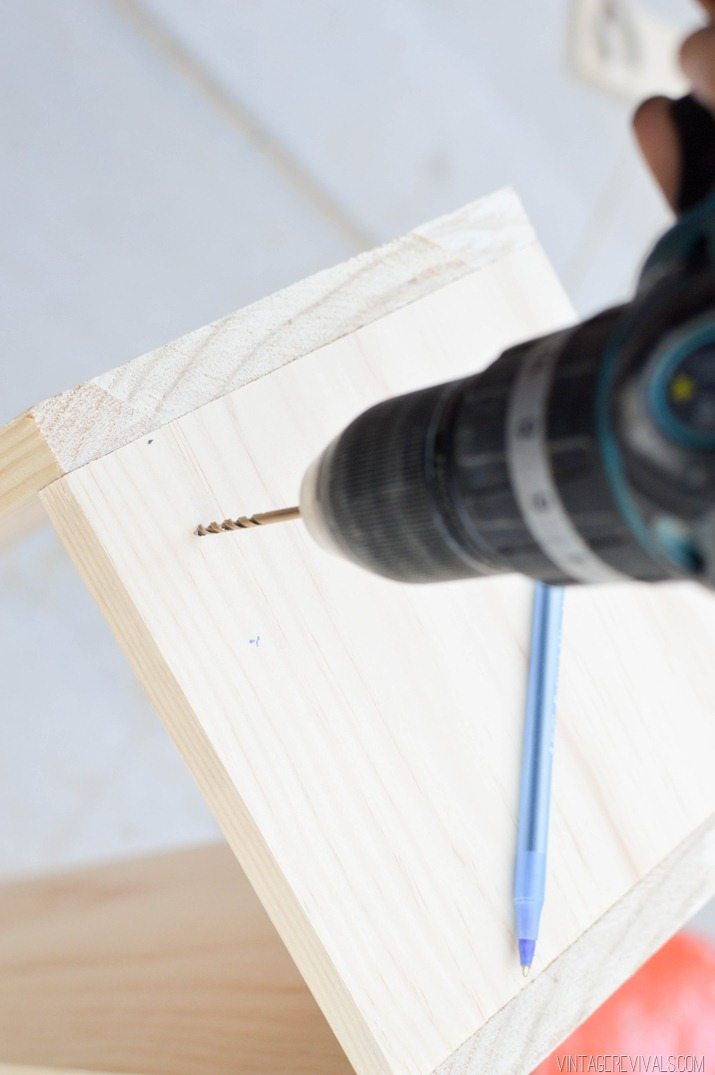
Then I drilled out the holes.
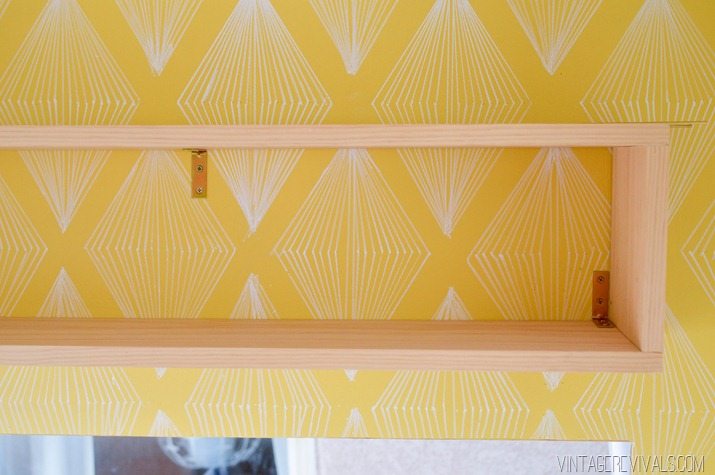
To attach it to the wall, I used basic L brackets, and attached them to the studs in the trailer.
Attach the brass rods into the holes, and ta da! you are finished!!
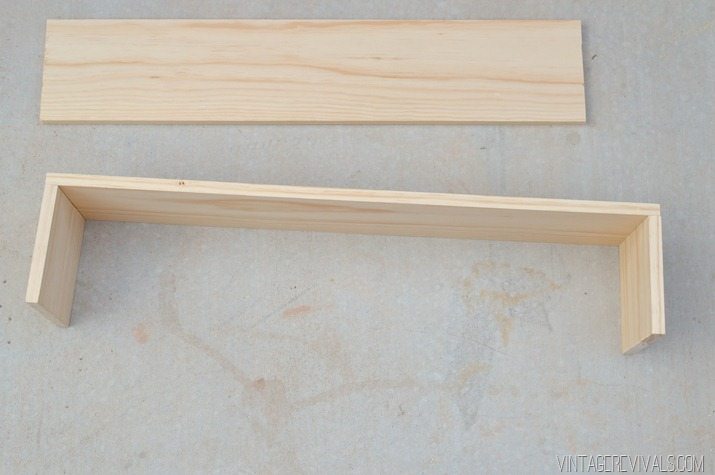


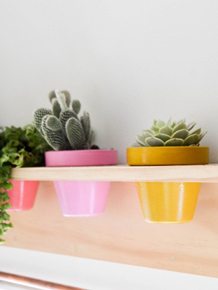
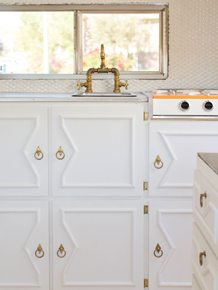
So simple and cute! I may be lucky enough here soon to be entrusted with the design on my little sister’s room. I think these would make a cute appearance! And they’re simple enough for me to attempt ;D
Cute! It looks like there’s some little wires running across them. Is that to just keep things in place? What did you use for those?
Woman, you are amazing!! I want to do every one of your projects, including this one! hah xo, D
Yeah. Awesome little shelf. You didn’t elaborate enough on the brass rods. What are they and where do we find them?
Another genius idea Mandy. Youre just so darned good lady. In another life id totally marry you.
It looks cool. Can you be more specific about the brass rods? Where did you get them? Did you put some glue in the holes to keep them from sliding out?
Mandy, tell me about those window shades! Do they roll down? I want to see a tutorial for that- I am in the process of doing shades for our motorhome 🙂
I feel like even I could pull this off!!! Thank you for sharing! i’m already picturing above our toilet!!
First of all I want to thank you so much for The Nugget series and say what a wonderful job you have done. I have the exact same Bell camper (except mine is a 1973 model) down to the Avocado interior color scheme. Mine even appears to have water damage in about the same places as the Nugget did.
My initial thoughts were to gut the trailer and turn it into a mobile kitchen trailer for tailgating college football games. But once I found your site and saw the possibilities for this little guy, I have now decided to renovate it for use as a camper once again.
I would like to send you some photos of my camper, keep you posted on it’s progress, and possibly pick your brain from time to time for ideas and advice.
Looking forward to hearing from you. Again, thank you for sharing this project. I have already learned a lot and I am sure I will benefit from the hard earned experience you gained during your renovation of the Nugget.
Sincerely
Brian Touchet
I have a ’69 Shasta I am renovating and have found a company which will make new custom cut siding pieces for the trailer, but the siding isn’t the same as the original on the trailer. Do you know if there is anywhere to source vintage trailer siding (small diamond pattern)? This probably isn’t too important as a new custom paint job as you have done is definitely in order, but if anyone knows where one could acquire the vintage stuff, do share!