Dudes! We are overhauling a 1972 Bell Travel Trailer! Follow the entire series from the beginning here!
*This Nugget project is sponsored by The Home Depot (thanks guys!)
Now that we have gotten the semi-boring out of the way (demo, rebuilding, prepping for paint) we can start work on the fun stuff! The stuff that you can actually see!!
Up first is tile. Backsplash penny tile to be exact. I am completely obsessed with this line of colorful penny tile that HomeDepot.com sells. (Sometimes I forget that they have so many amazing things online!)
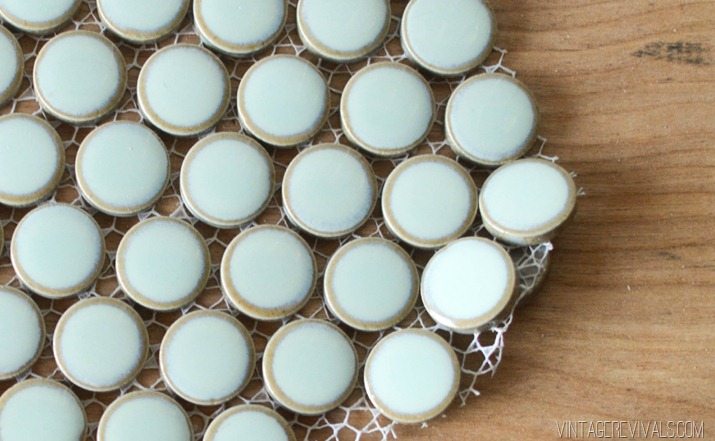
I spent hours trying to pick my favorite, and ultimately ended up with Merola Tile’s Penny Round Light Green.
I love how they have a little ring on the outside that the color doesn’t cover, it gives it some really cool dimension.
We ordered 2 boxes, but, I think could have gotten away with one if we would have applied the Oregon Trail method of rationing.
I researched the crap out of installing tile in a trailer and the majority of the info that I could find said that it would be fine. But I was still a little nervous, so I called my friends over at Jim’s RV and asked them 1. if it was possible and 2. if they had ever done it. The answer was yes on both counts. (Insert happy dance…but not to Happy, because that song makes me stabby.)
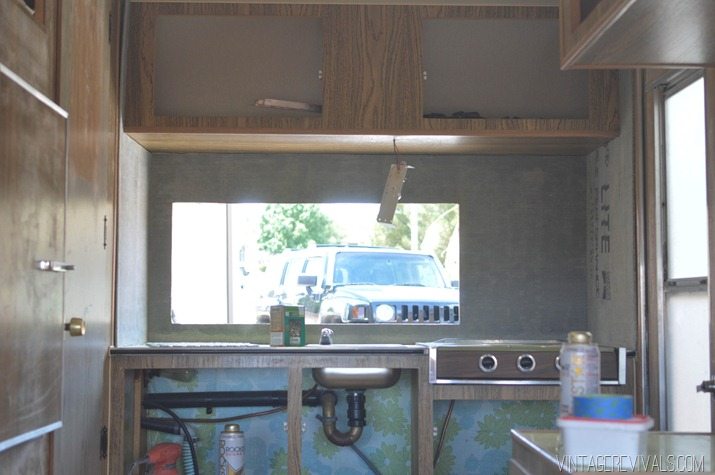
The most important info that I gathered was to make sure that the surface that you are installing the tile onto is solid. The paneling that made up the interior walls? Not solid. It was like 3/16 of an inch thick. Definitely not sturdy enough to hold the weight of the tile.
Off to Home Depot I went to pick the brains of the guys who know best. They recommended installing cement board onto the walls and using thinset and grout that had flex in it (we will get into product specifics in a bit)
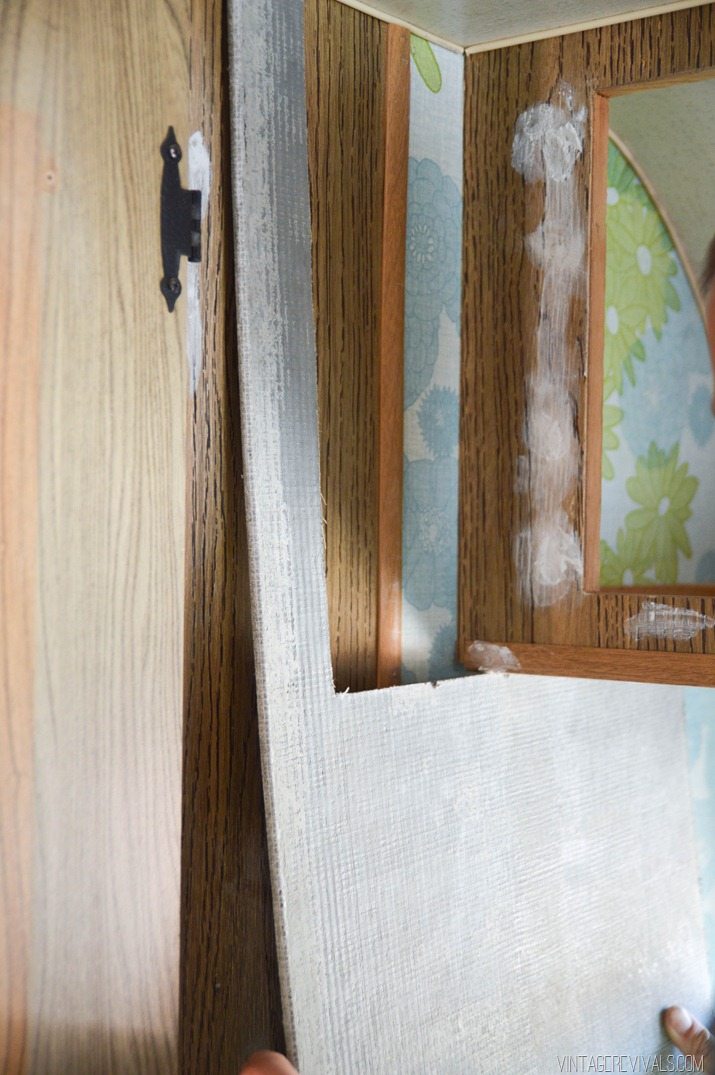
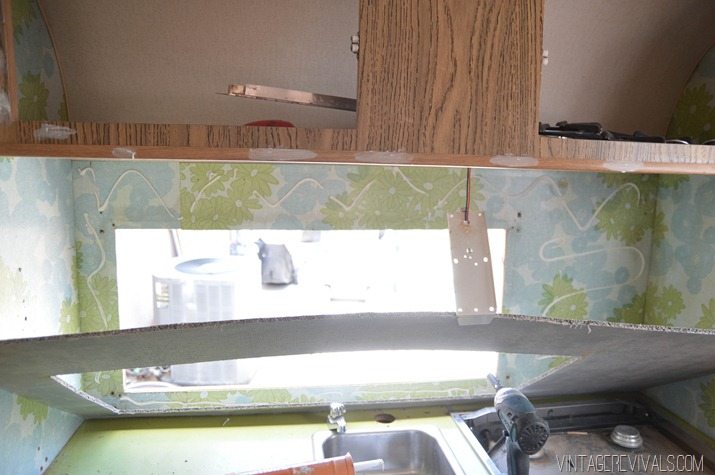
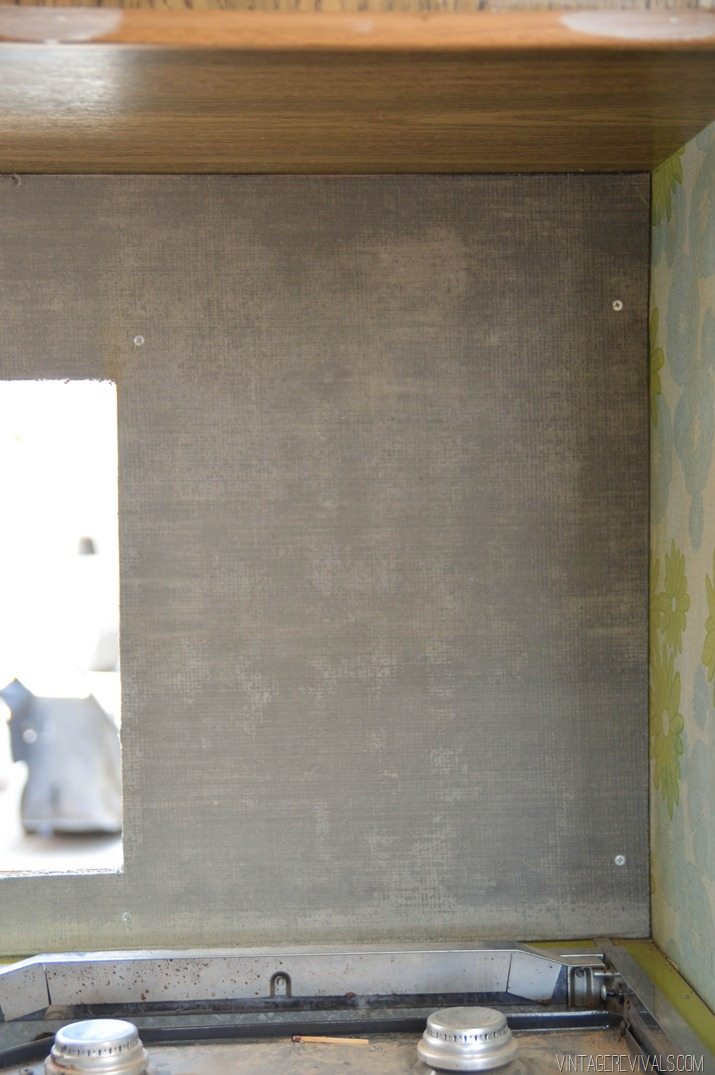
We measured and cut the cement board to fit the walls.
To make sure that it was nice and secured to the wall paneling, we put down Liquid Nails before we put the cement board up.
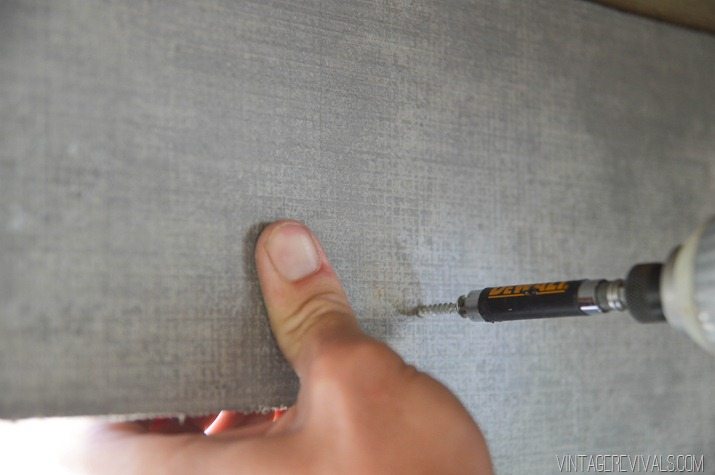
Then we screwed it onto the studs.
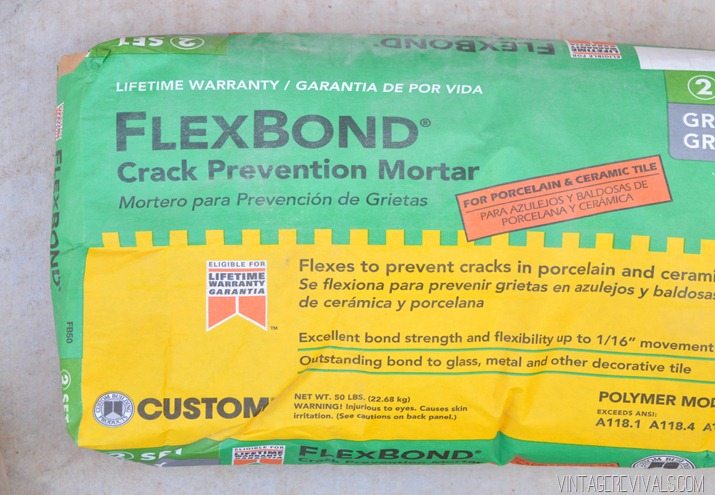
The biggest concern with tiling a trailer is obviously the movement that happens. No one wants to get to their destination and open the door to find their backsplash hanging out on the countertop. The guys at Home Depot recommended FlexBond Crack Prevention Mortar, it is rated with thumbs up for use in areas that have a lot of earthquake activity and ground movement. It is a little more expensive than regular thinset, but totally worth it. It was pretty crazy to see how much flex it had when we were cleaning up, It was most definitely the right choice.
This is the first time that I have ever laid tile, and I must say, I sort of loved it!
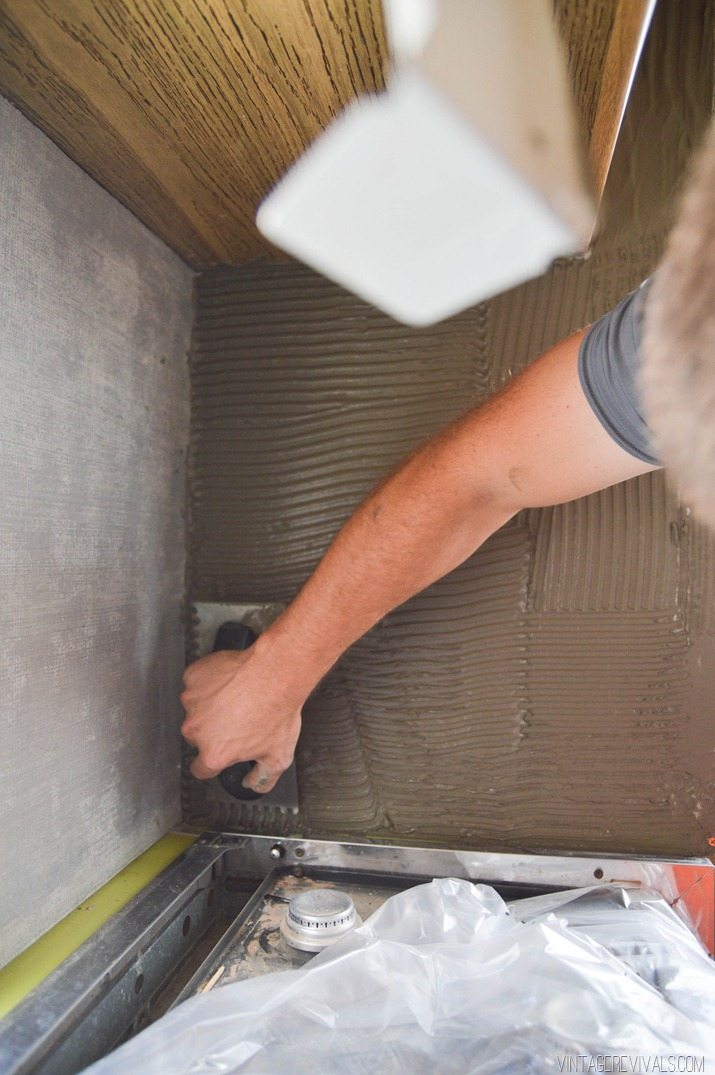
Step 1: Spread the FlexBond (not pictured, the moment I had to take over because Court was trying to make it perfect and I just couldn’t deal.)
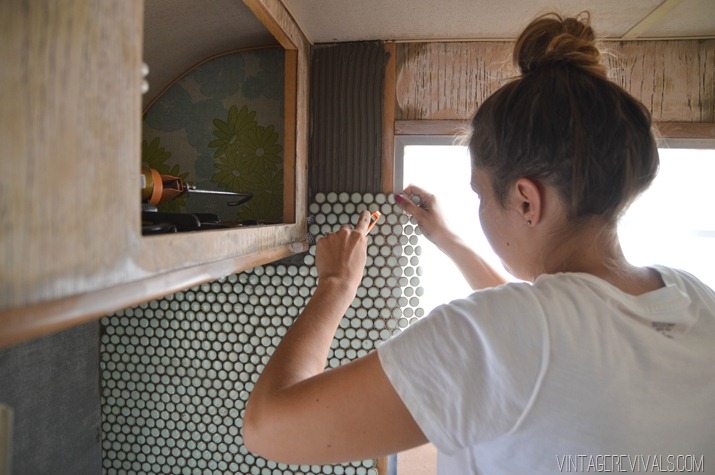
Step 2: Place your tile. I used a box cutter to trim the excess.
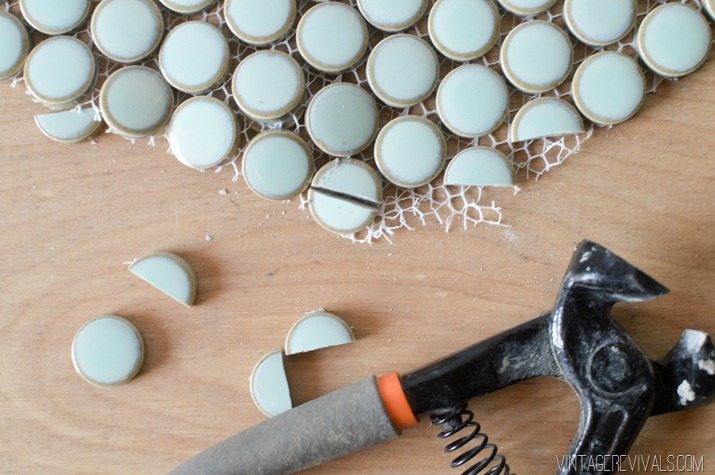
Step 3: Snip and fill in all of the little pieces.
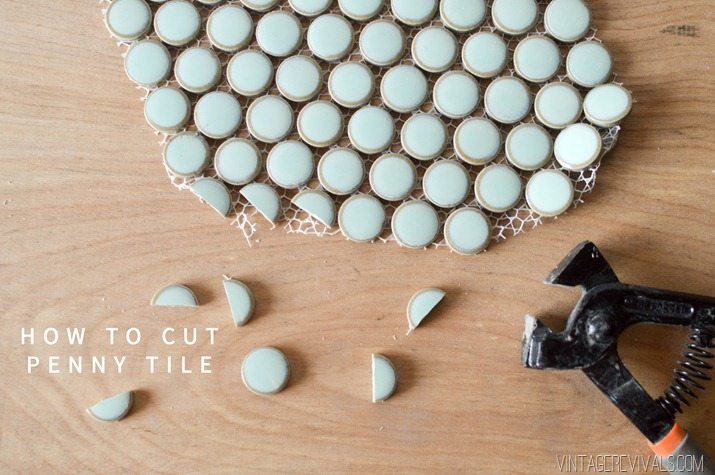
So here is the deal. Cutting Penny Tile is not hard, but it is a little confusing. It is too teeny to use a tile saw, that basically leaves you with the option of Tile Nippers. I cant even begin to tell you how many tiles we broke before we figured out a method to the madness (we tried a few techniques like this one from YHL, and this one that recommends using a grinder). The gist of it is, there are a lot of complicated ways to cut penny tile, but I think we found the easiest way EVER.
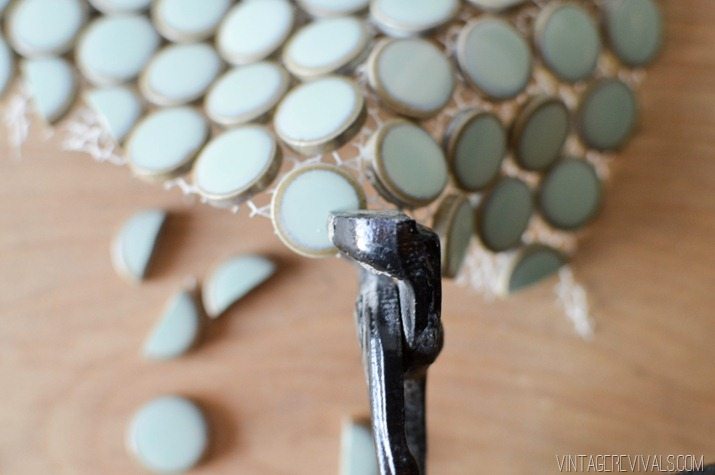
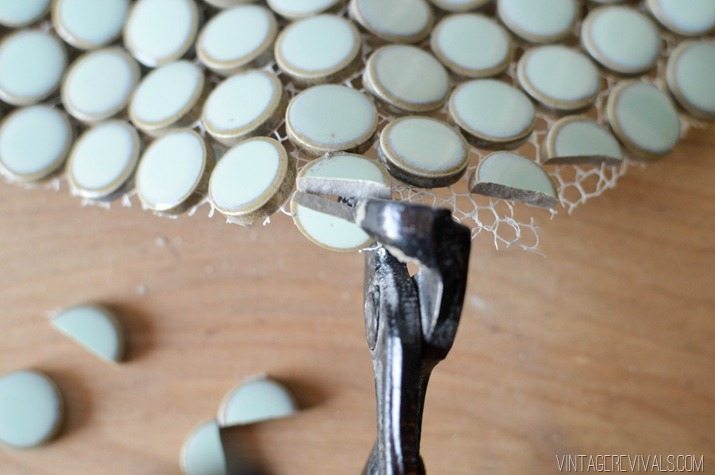
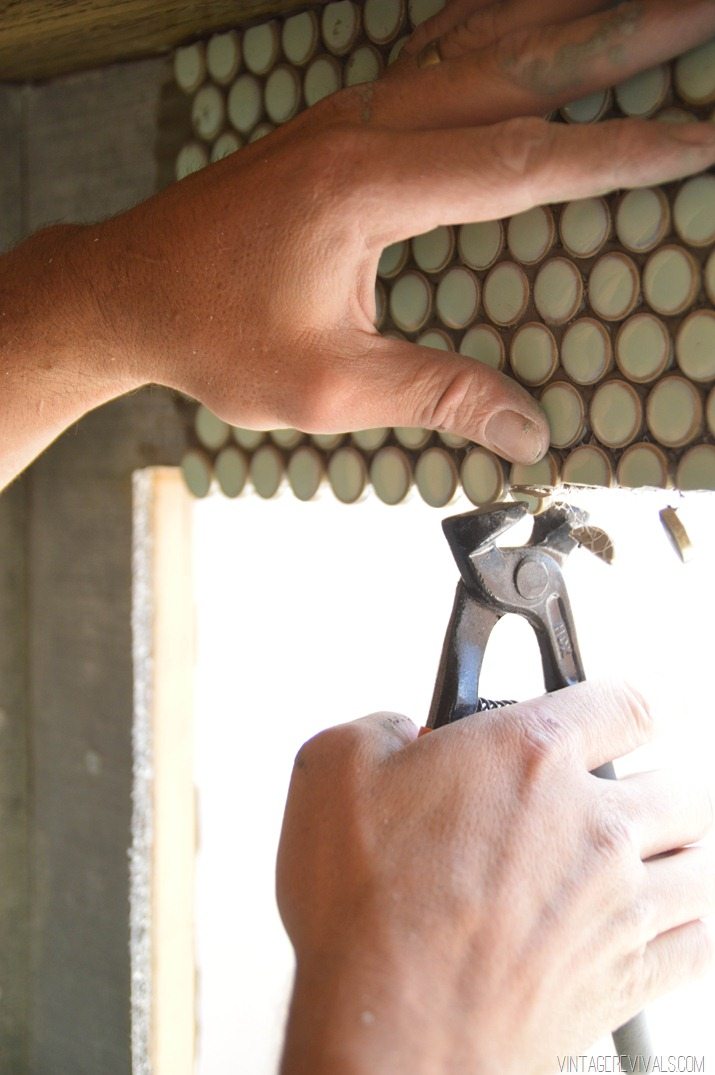
Place your nippers so that they cover 1/3 of your tile. No more than 1/3.
Squeeze.
That is it. Its all about the nipper placement.
Also? A video for those that like to see things in action!
Around the window we left the tiles on the sheets and nipped them while they were attached.
After we filled in all the little spots with our 1/2 tiles we let it set for 24 hours.
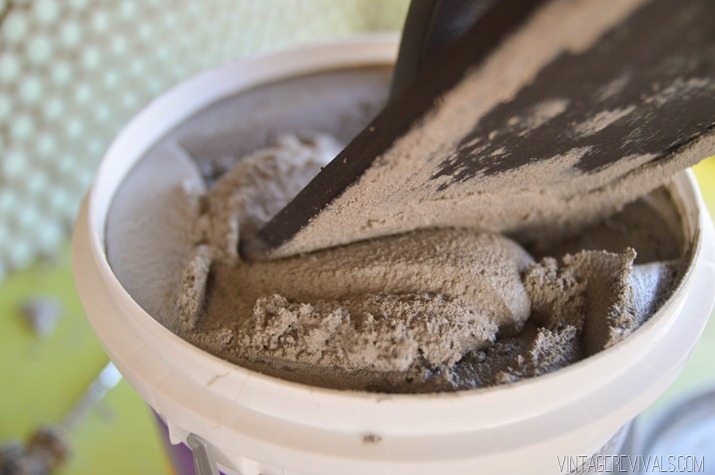
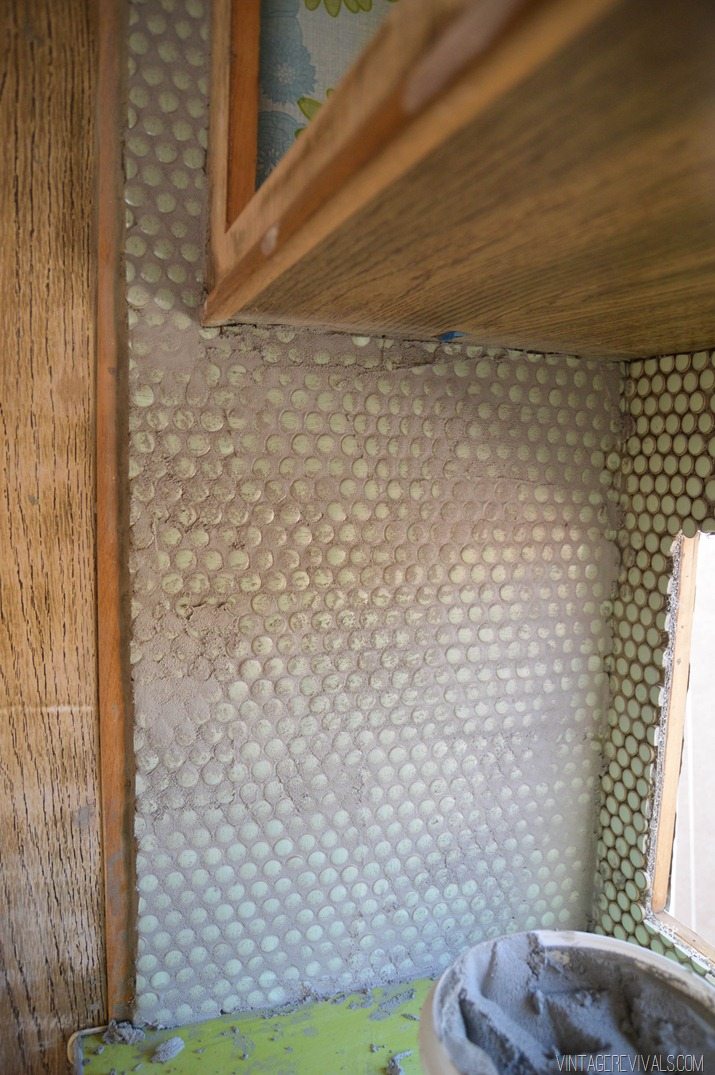
Then it was time to grout! The grout that I chose was premixed Simple Grout in Natural Gray. Its a really good medium concrete gray color.
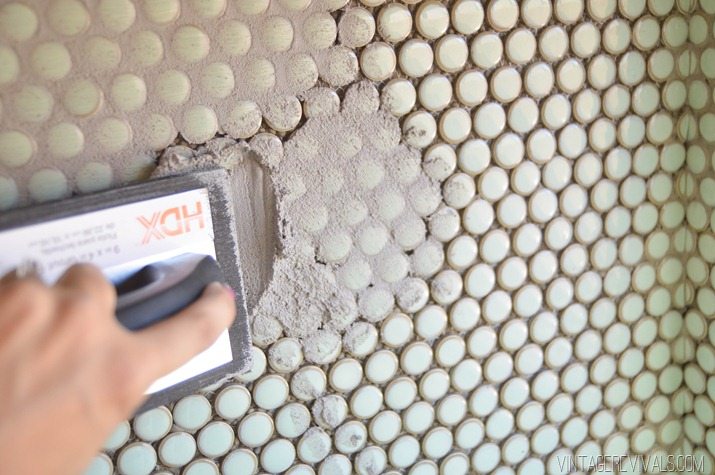
Using a foam float (like this one) spread the grout onto the tile. I will admit, this part had a little bit of self talk that went something like this “Mand. Don’t screw this up. Seriously. Court will never forgive you.”
The technique is simple. Glob and spread. Make sure that you are getting in every crack, taking off as much excess as you can.
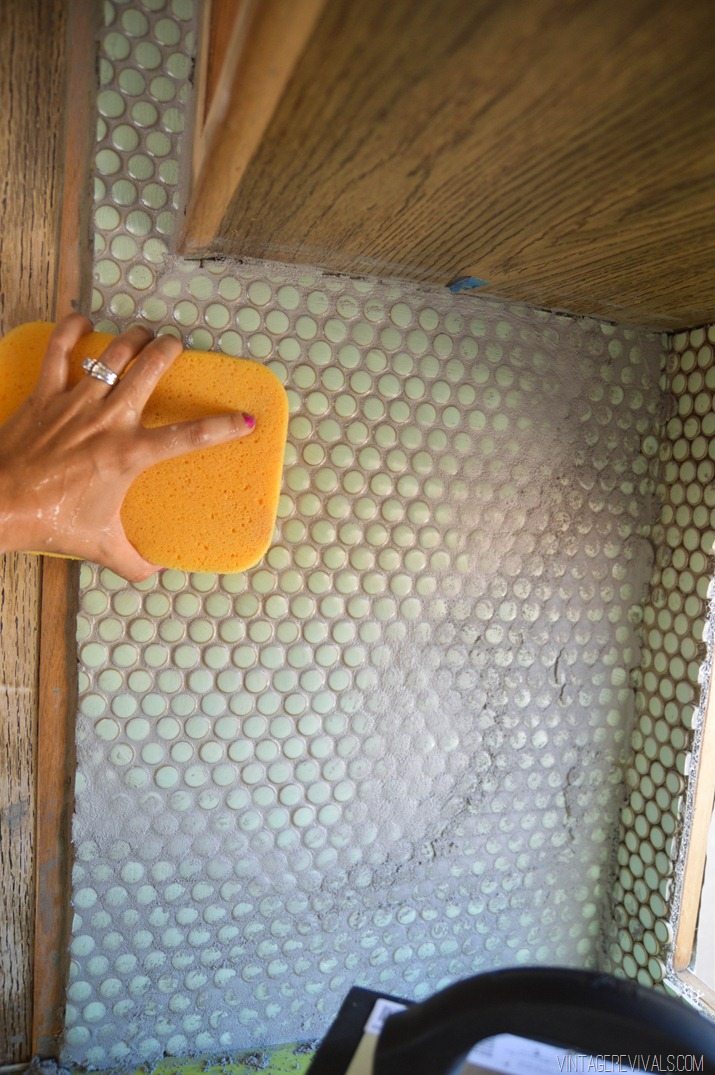
Then really quickly use a damp sponge to gently wipe off all of the extra. There will be lots of rinsing involved!
PSA: I learned the hard way was that you need to wipe off every.thing. Don’t leave any water spots behind, because they are really hard to get off after they dry.
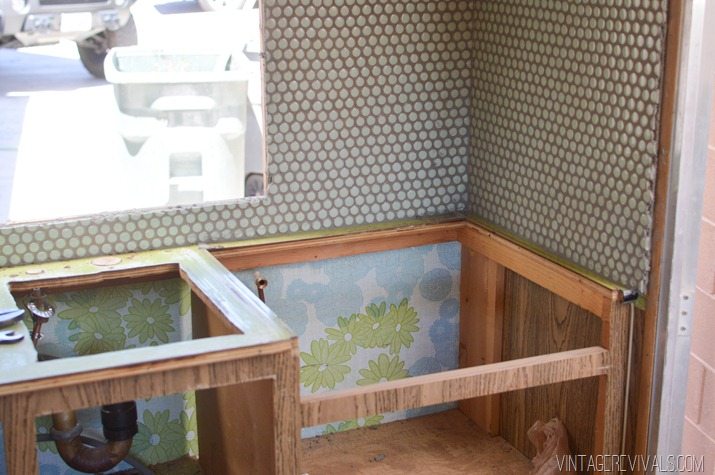
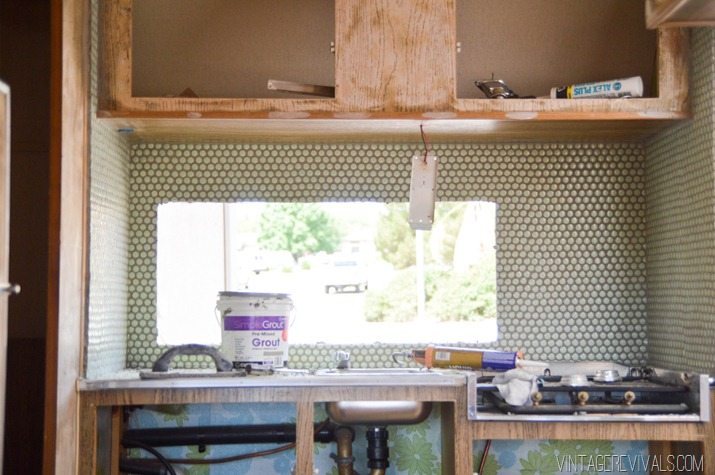
I am so in love with this green tile. It adds the perfect updated retro vibe to the little kitchen! Makes me want to penny tile bomb the entire city of St. George.
I acknowledge that The Home Depot is partnering with me to participate in the vintage trailer overhaul (the “Program”). As a part of the Program, I am receiving compensation in the form of products and services, for the purpose of promoting The Home Depot. All expressed opinions and experiences are my own words. My post complies with the Word Of Mouth Marketing Association (WOMMA) Ethics Code and applicable Federal Trade Commission guidelines.





I love how it’s coming together, can’t wait to see the entire thing finished!
Woooohooooooo!!!! I love that you went for the REAL tiles!!! It came out FANTASTIC!!!! Nicely done little lady……nicely done. 🙂
So aweswome!! I just installed a subway backsplash in our RV and almost went with penny tile. I’m crossing my fingers that it will stay up…but only time will tell. It sounds like your peeps at Home Depot were way more helpful than mine. I was worried about the movement causing the whole thing to be unstable so I used Loctite silicon caulk to adhere the tiles to the walls and then an epoxy mix grout that is said to be a bit more stable.
I can’t wait to show the before and afters! Fingers crossed it doesn’t fall off on our first road trip. 🙂
love the penny tiles and especially the color!
Hey Mandi,
Love the tile! Do you think this method would work with other small tiles that aren’t the penny round? I’m looking to do a hexagon small tile in my bathroom and think this would be a much easier way to trim excess tiles.
Thanks! Looks awesome.
-Jess
Yes it TOTALLY would!
xo
m
Looks fantastic already – can’t wait to see the final product. PS I picked up the issue of Flea Market Style before I even knew about your feature so flipping to it was a totally awesome surprise! Congrats, Mandi!
Thanks lady!
I am loving following this! I find myself planning when I see little campers with ‘for sale’ signs in them. Oops. Tile looks great, and I’m so happy to hear that I’m not the only person that cannot handle the song “Happy”
Love the penny tile! I did a gigantic mosaic years ago in a friend’s fancy kitchen. I TOO learned the hard way that spending how ever much time is needed to wash off the grout is ESSENTIAL! Come to think of it, I must have grouted it on September 10th, 2001 because I spent ALL day on 9-11 (THE 9-11) scraping and sanding with a copper scrubbie while listening to the news coverage of the tragic events and listening to music to soothe my soul. Funny how your penny tiles and grout can take me there.
To lighten it up a bit though, I have an unfinished back splash myself! Oh, it has Hardie backer board on it and has for years. Most people think I just have a cool industrial look back splash! Not my husband however!
one day…one day I’ll get back to that. At least reading all your DIY’s leads me in the right direction! Thanks for the constant inspiration!
We just got the ok to update our NYC rental kitchen. Im a designer but not a home DYIer, id love to try installing penny tile since the cutting looks easy enough without a big equipment investment. Thanks for posting!
Wow, it looks really great! I just love the grout you chose, it combines perfectly with the tile!
Love that soft green. I am in love with the hex white tile from HD – but I was scared of tile because of the investment of a tile cutter. Hello nippers!
I love penny tile. This looks amazing!! You make it look so easy.
Holy cow…..I absolutely adore penny tile and that looks so adorable.
I’m loving watching your progress with the Nugget- so inspiring. I saw this house on The Design Files and it made me think of your inspiration for the renovation & your penny tile: https://thedesignfiles.net/2014/08/melbourne-home-alex-kennedy/
Just thought I’d share 🙂
Oh Mandy, I truly love your guts today! I am in the throws of a kitchen remodel that my Hubs and I are doing ourselves (prayers appreciated!). I fell in love with that exact penny tile last weekend but couldn’t wrap my head around nipping every one….HOLY COW you gave me the confidence I needed to make the final decision on backsplash! I am so relieved! Mandy for President!!!
I love where this color palette is going already! Great call on the concrete-colored grout.
Great tutorial! I used the paint stripper you recommended on my camper and I couldn’t believe it! I barely had to scrape ands and the paint literally fell off!
Not sure what I’m going to do to the interior yet but i love the look of this tile!
Dear Mandi i found your blog by accident and i am truly in love with it!! And tiles from this post seems to be unreal – they are so cute !!! Good luck with nugget 🙂 lots of love, Karolina
This is the tile I want in my kitchen!! So awesome in your overhaul too! Love it and great info too
Thank you so much- I especially appreciate your input on cutting the small (precious) tiles. I am going to be installing my backsplash with the Arabesque lantern shape tiles and may be in for a head ache!
j’adoreeeeeeeeeeeeeeeeeeeeeeee!!!!!!!!!!!
not sure what you did to finish the edges, but home depot really should have suggested using Schluter strips for the ends to make them more finished. or you could probably go back now and do like a quarter round bead molding. the backsplash looks great and i love that color!!!