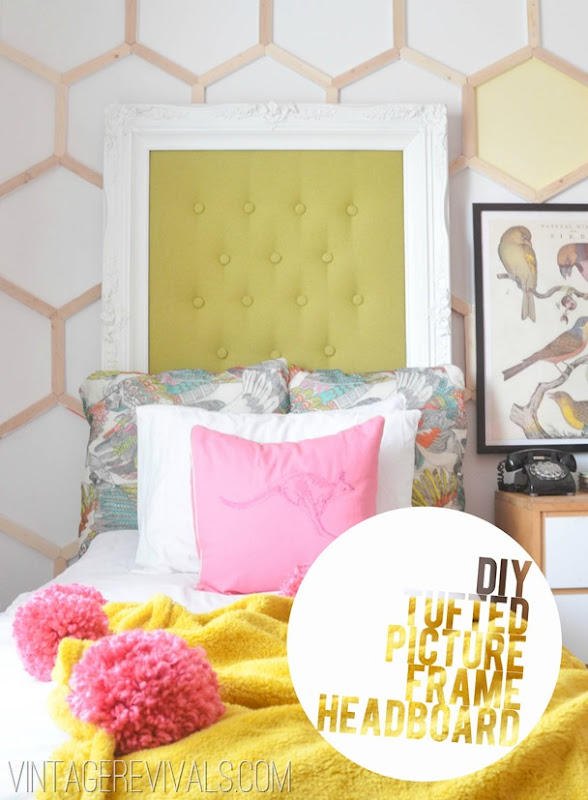
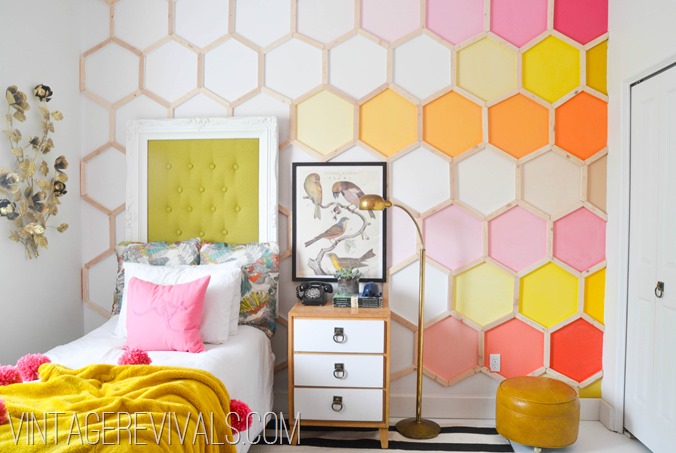
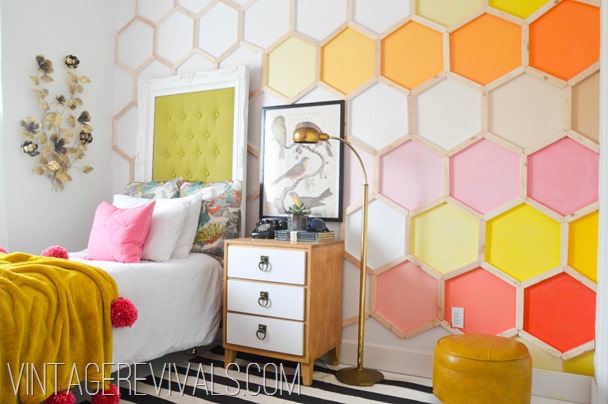
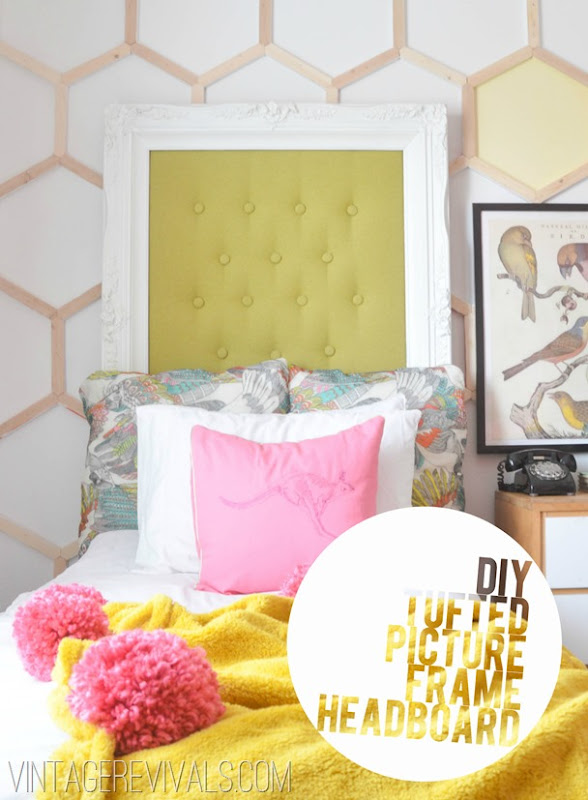
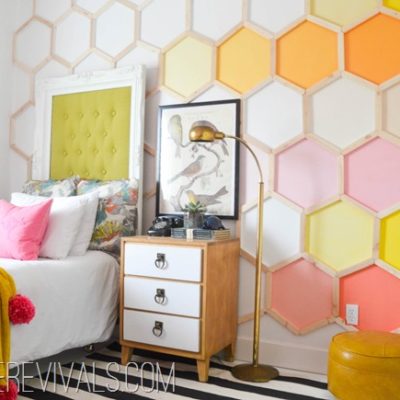
One of my favorite projects in Dylan’s Bedroom is her headboard. The original plan was to use the head and footboard that we were using before (because its fantastic). The problem was, that against the hexagon wall it made your eyes start convulsing because there was just SO MUCH going on. I needed to put something solid against the wall so the fighting was calmed.
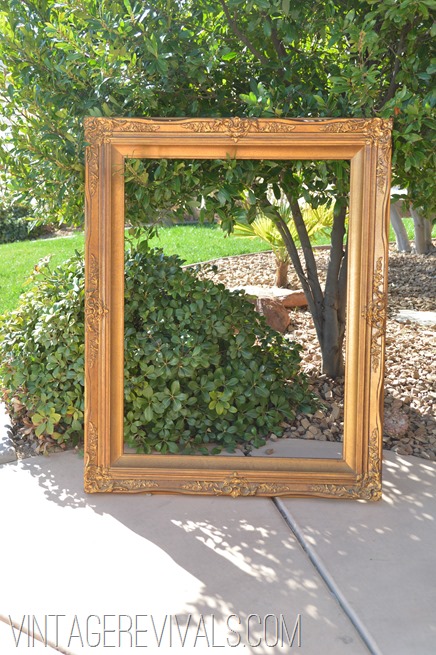
I found this amazing giant picture frame at the DI (Utah’s version of Goodwill) for $15.00. To be honest I bought it with every intention of selling it at the Hoard Sale. But then my bff Brooke pointed out that it is the exact width of a twin size bed (don’t you love friends that can connect the dots in your mind?!) So this thrifted frame became the base for her headboard.
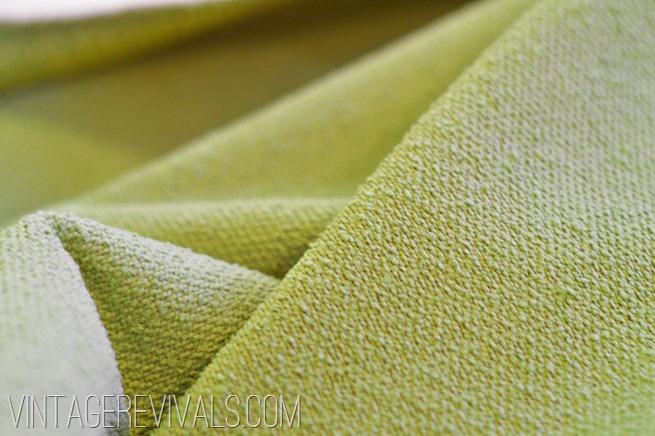
Living in Southern Utah has its advantages (its GORGEOUS here!) and its disadvantages (there is NO WHERE to buy fabric.) So when I spotted this knobby woven pea green upholstery fabric at one of my favorite consignment stores I was ALL over it.
To make an upholstered framed headboard you will need:
A frame
1/2” piece of plywood or MDF cut to 1” larger than the dimensions of inside trim of your frame. (If your frame is 35×44” your board should be cut to 36×45”) FYI you should buy your wood at Lowes, they have a bigger variety of precut options that you can trim down, so you wont need to buy a huge 4×8 sheet)
Egg carton foam. You can find this at Target or Walmart for $10-15
Batting
A stapler. A pneumatic one is preferable because it makes things SO MUCH easier. So. Much.
Button making kit (around $10 at Joanns. This includes the buttons too!)
If you are going to be repainting your frame you will want to do that before you upholster. I decided to change mine after it was already upholstered (remember this small detail) and I had to be super careful to not ruin my fabric with paint.
Upholstery is a 2 person job, so make your best friend some Swig Sugar Cookies and make a morning of it!
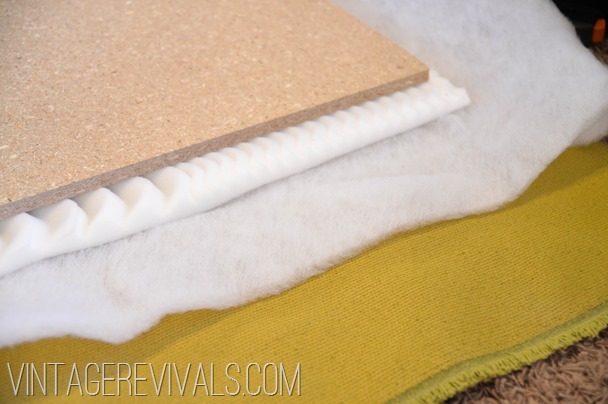
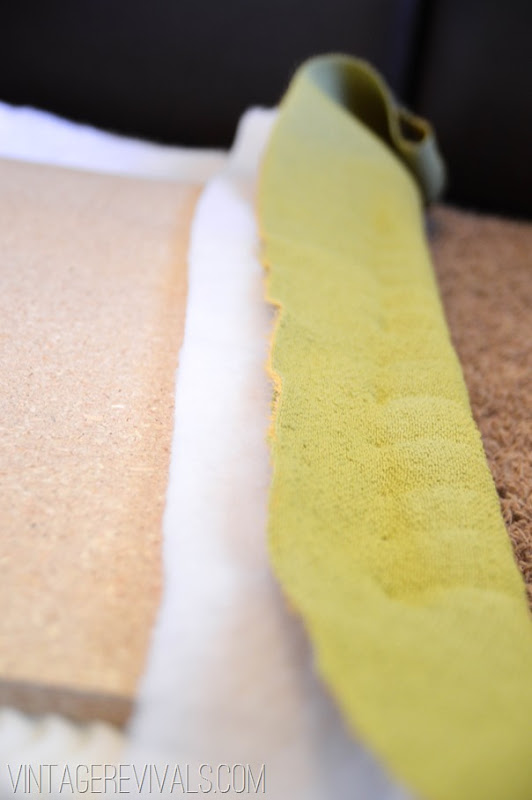
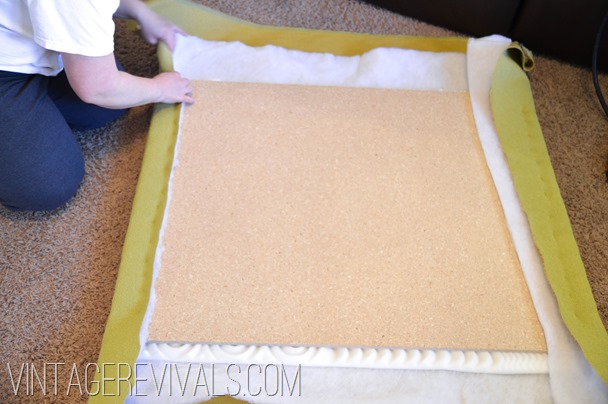
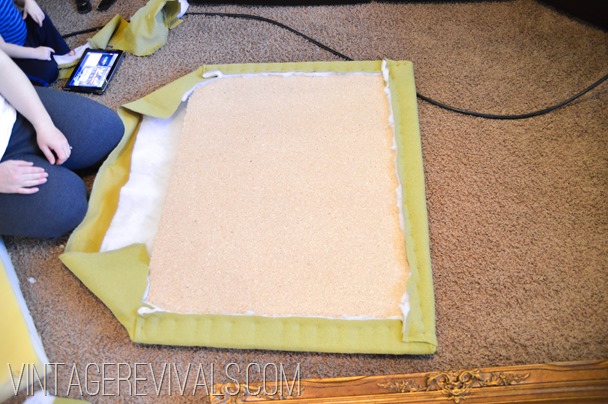
Start by laying your fabric face down on the floor, make sure there are no wrinkles in it! Next we are going to make an upholstery sandwich. So you have your fabric face down, next up is your batting, then your foam (if you are using egg carton foam make sure that the bumpy side is against the wood. (which is your last layer.)
Make sure you have enough fabric to wrap around and staple to the back. Also if you are using thinner foam (like I did) leave a little bit of excess foam that you can wrap around too. If you are using thicker dense foam you will need to cut it to the exact size of your board.
Start on one side and fold over and staple your fabric. Start in the middle and work your way out. Leave about 4 inches of unstapled space from the end of your board so you have fabric to work with when you do your corners.
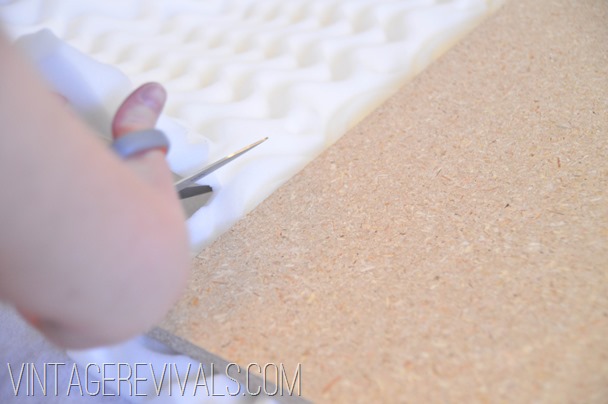
Trim your fabric/foam/batting to the correct length. (I always do this after the first side is stapled down…one time of cutting it too short is enough for me.)
Next you are going to do the same thing to the OPPOSITE side of your headboard. This is where it becomes a 2 person job, one to pull the fabric tightly and one to staple. When you are pulling the fabric use 2 hands or else you will get places that are pulled tighter than others, and that is just not a good look. (Remember to start in the middle!!)
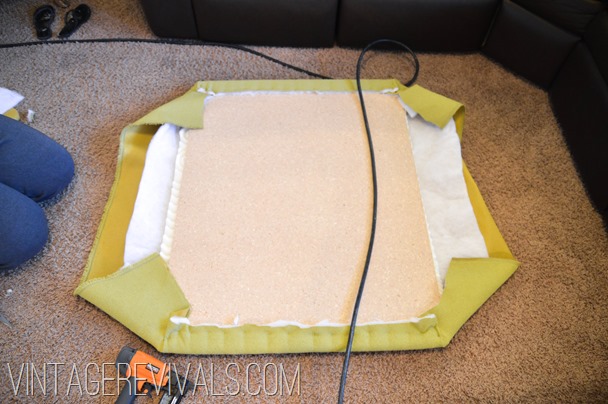
Once you have gotten to this point it is time to do the dreaded corners. To quote my girl Brooke its just like wrapping a present.
Follow those steps for each corner. When you are finished your headboard should look like this:
Now you are going to do the same process of stapling one side and then the opposite. Make sure you pull your fabric SUPER TIGHT. This is what makes it look professional.
To finish off your corners fold your fabric in a straight line and staple along the edge.
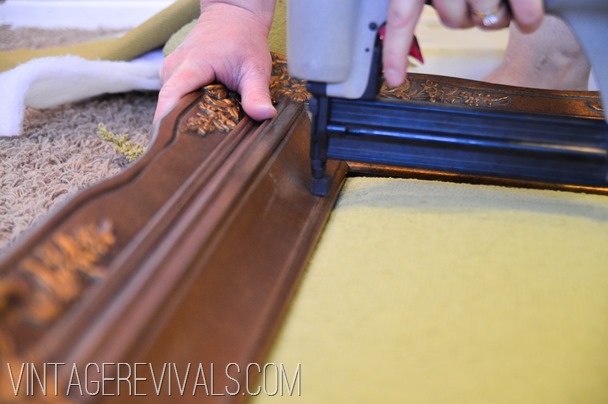
You have a few options for attaching the frame to your upholstered board. You can use brackets, you can nail through the board into the frame, or you can nail through the frame into the board (which is what we did.)
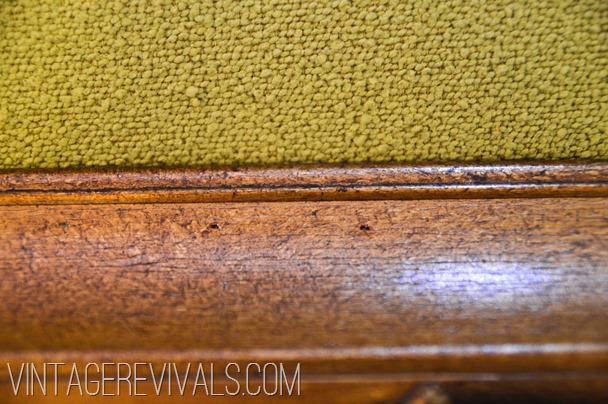
The nails that we used are finishing nails that don’t really have a head so they left a very small hole. If you don’t have access to a nail gun I would nail it from the back.
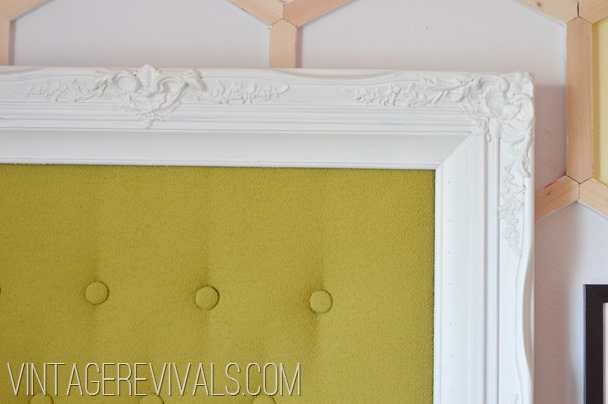
Once your frame is attached its time to decide on the button placement. I wanted something that had a shallow mid century tuft (which is why we used thin foam and did not pre-tuft) if you want deep button or diamond tufts your process is going to be a little different. Check out Brooke’s diamond tufting tutorial here.
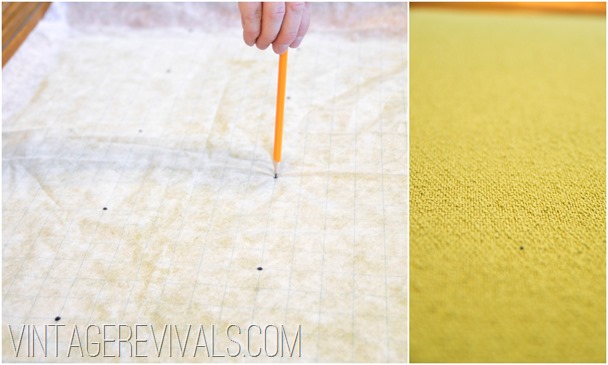
Like the upholstery ninja that she is Brooke whipped out this piece of backing that has a grid on it. I have no idea of the actual name (if you know please leave it in the comments and I will love you forever!)
We marked where we wanted the tufts on the grid and then lined it up and marked on the headboard where they needed to be. This was 100x easier than measuring and leveling and measuring again.
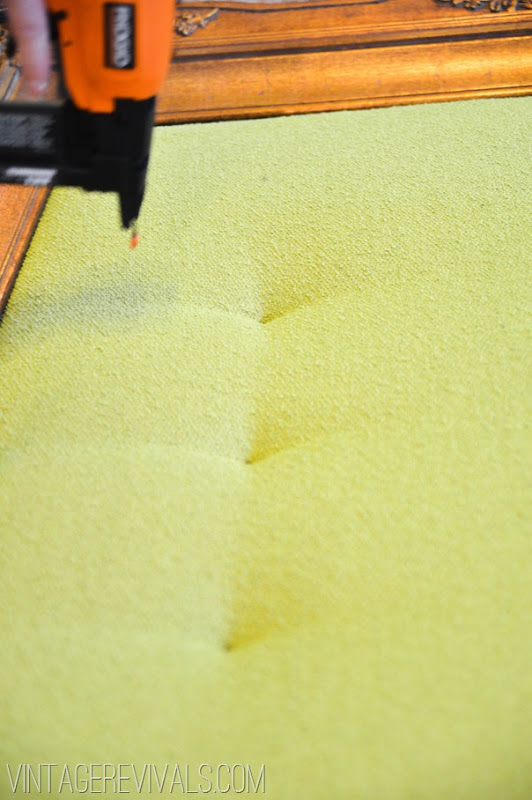
Staple each mark and voila! Tufting!!
Once you have made your buttons (just follow the template and directions on the package, they explain it better than I can!) hot glue them over your tufting.
I hung this on Dylan’s wall with a Hangman. Its basically a big metal French cleat that can hold 200 lbs. I love them and have used them here and here and here to hang headboards.
Make sure to check out the other projects in Dylan’s Dream Room for lots of kid friendly ideas!!



Great, awesome tutorial!! I’m dying to make a tufted headboard now! 🙂
This is amazing and something I definitely look forward to trying in the future. I’m holding out hope for the pom pom blanket tutorial.
AWESOME!! I can’t tell you how flippin excited I am for the hoard sale…11 days! AHH!
Wow. Crazy.
I can’t get enough of the room. Love the headboard!
Brilliant! I love it!
I check everyday for the pom pom blanket tutorial. The entire room is awesome!!
I just found your blog while searching for Vintage Card Catologs. Cuz I just purchased one. 🙂 Anyway, My mouth dropped at all your DIY projects not to mention your Vintage Modern Style is so Great! I love it. Love your girls room too.
I love the way your Living Room turned out! AND… I just posted about your Living Room on my blog! Thanks for the great Inspiration! Truly talented!
Megan from Daly Designs 😉
https://mydalydesigns.blogspot.com/
We have been headboard-less for three years now and the paint is starting to show it. This seems super easy to do, I might go for it! Oh,and coolest room ever!
This frame looks amazing, you’re real talented, tile adhesive bless you 🙂
Seriously, off the charts AMAZING!!! Now I want to go and find an old giant frame!!
Honestly this is amazing!
It a great DIY idea. Find more inspiration on our blog if like like to DIY https://moorbi.tumblr.com/
VR, you ROCK! This is going to be my next project:) I love how my “tin-foil” side table turned out…lovin your creative mind, Mandi!!!
Blessings & <3
M
Dude, you better send me pictures!
Pellon Tru-Grid is the name of that blue grid stuff. Amazon sells it by the bolt if you don’t live near a fabric store.
Thank you so much for sharing this DIY – when I saw it in HGTV Magazine I immediately fell in love! I just love everything you did in your daughter’s room – it’s all very girly but so easy to grow up with. I will be sharing this project on my blog, I’m pretty sure my followers will love it too!