Guys!! I am so excited to share todays project with you!
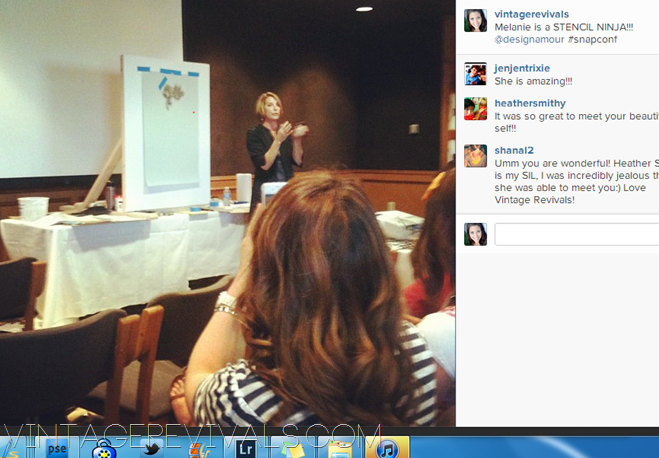
You may have noticed that I am a lifer. When I fall in love with something its sort of a forever thing. If you are a Vintage Revivals lifer you will remember how much I love the amazing Melanie and her company Royal Design Studio.
Its true I really do love her. (I actually started crying while I was introducing her at Snap last year because I just love her SO much. Annnnd I may be a little over emotional, but that’s neither here nor there.)
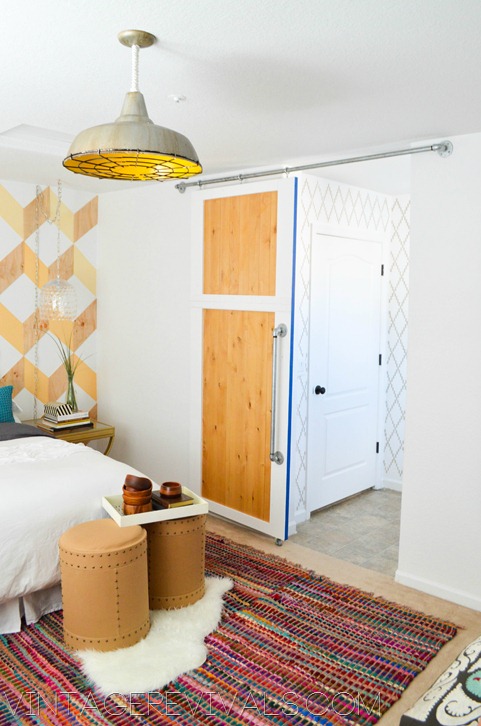
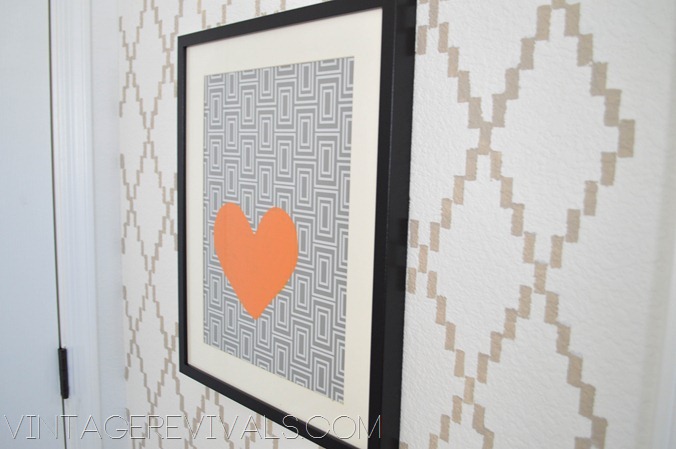
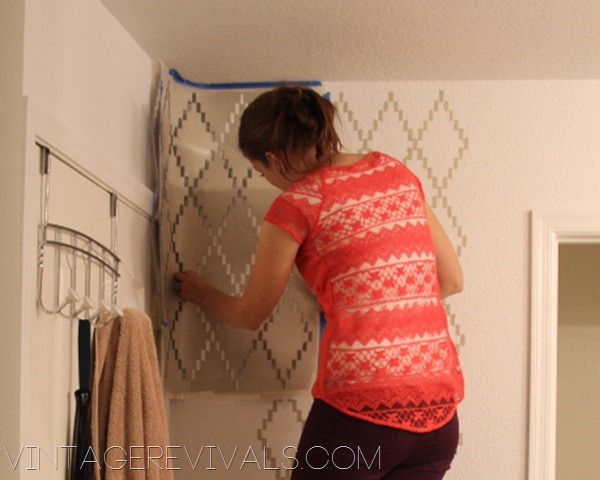
When I decided to do such an over the top wall behind Kelsey’s bed it made the bathroom an obvious choice for my current favorite stencil from Royal Design Studio. (I was actually the same stencil that I demo’ed on my most recent episode of The Nate Show, its just that good!)
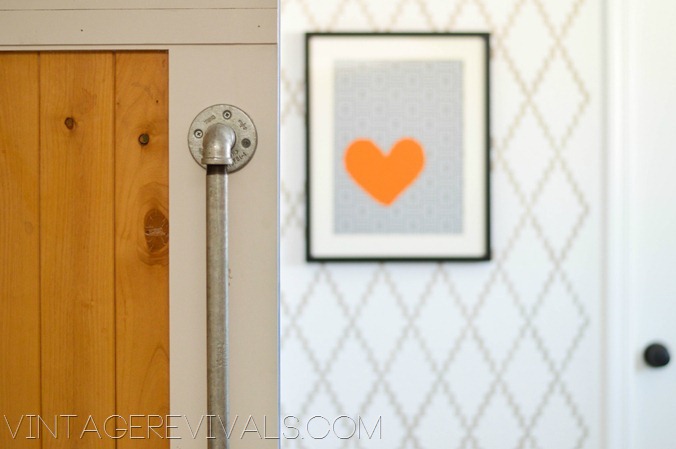
The stencil design is called Nova Trellis. I love it because it is ethnic and modern and clean all rolled into one happy package.
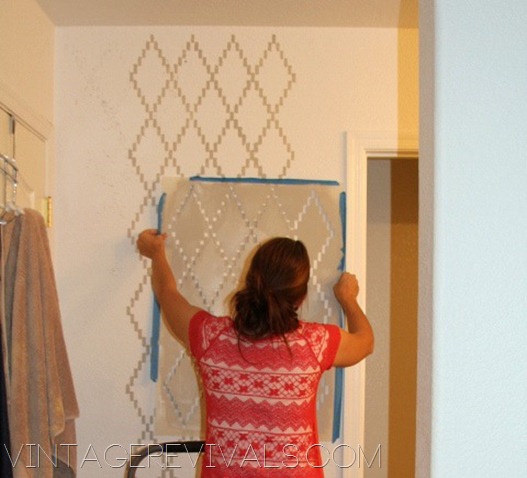
Once you have your favorite design picked out it comes down to stencil survival. Here are my 4 favorite stencil tips:
1.Start in the center of your wall. Doing this ensures that the stencil will be balanced visually!
2. Only tape the stencil on 3 sides. This makes it MUCH easier to line up, especially if you have a stencil design that has a lot of blank space (it can “stretch” and wont lay flat or line up square.)
3. When it comes to corners the stencil is designed to bend (not crease!) so make sure that you let the stencil dry between coats of paint so that you have room to play with it and move it around on the wall. If the stencil still has wet paint on it then you will have lots of touch-ups around the corners!
4. Pretend you are painting a baby. Yes that sounds super freaky, BUT when you are stenciling you want to use light pressure. Not so light that you don’t get any paint on your wall but just pretend you are painting a baby, that is the only way I can think of to describe the right pressure. If you push too hard you are going to force paint underneath your stencil and then you will have more touchups. Don’t make the baby cry.
If you are still on the fence about stenciling you can rest assured that the quality of Royal Design Studio Stencils is the best. And if you want more info about how I stencil you can check out this post.
If you are feeling SUPER excited jump on over and use the code VINTAGE10 to get 10% off your next order!
And just for fun I thought it would be great to get the creative stencil juices flowing so we are going to have a linky!! If you have done a project with a Royal Design Studio Stencil link it up below! I will be featuring my favorites all week on my Facebook page and EVERYONE that links up is getting pinned! Did she really get pinned? Did she kiss him and cry? Can you name that movie?! If so then we are DESTINED to be soul mates.
Love Your Guts, Mandi


I’m a rule breaker! My stencil projects that I linked up (17, 18, & 19) are not from Royal Design. I couldn’t help myself though, I wanted to join in so bad. Please don’t hate me.
Nikki Kelly @ the ambitious procrastinator
One day I’ll have enough in the budget for one of these! I’ve wanted one for so long!!
Okay, I’m a dork. I got so excited about stenciling and linking my reverse stencil idea that I did not read the fine print. This is not Royal Design Studio stencil. It is my own stencil and I am certainly not royalty so you will have to remove it from the link. Sorry Mandy for making you do extra work when you really could be re-doing my living room. But I digress……
[email protected]