This post has been a long time coming!
I am not a expert at this. Basically my only advise is to take things apart and put them back together the same way the best that you can. I did this project really quickly and didn’t take as many pics as I should. Sorry!
Here we go. Oh and remember the rule here at Vintage Revivals. Don’t you judge my messy house.
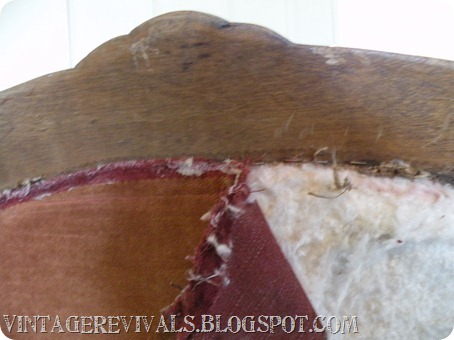
First things first you want to take off the trim. Usually it is hot glued down so you can just pull it off. This will reveal a crapload of staples.
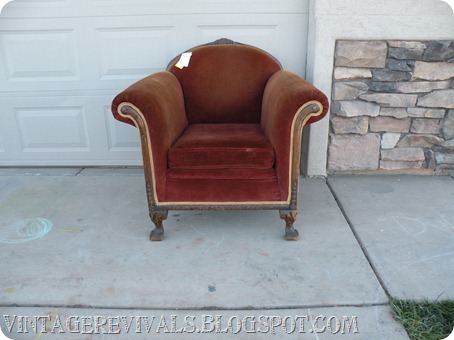
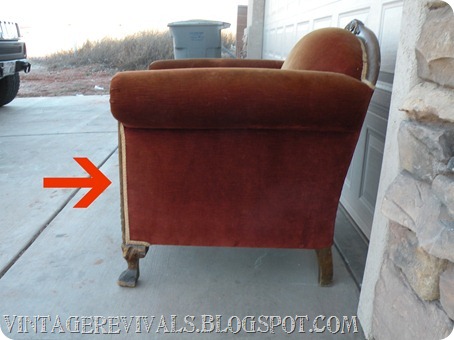
Start with the side panels. You know these:
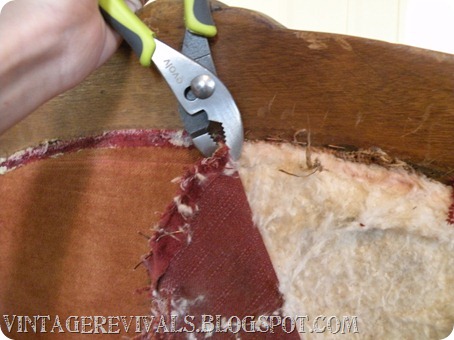
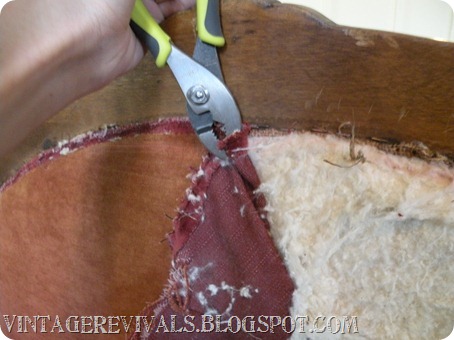
The best way that I found to get the staples out is with a pair of pliers. You grab the fabric and then roll the pliers and it takes them out a lot easier than grabbing it and pulling.
See you roll it like this
Be careful that you don’t damage the batting and padding on it. Unless you are not reusing it then go to town.
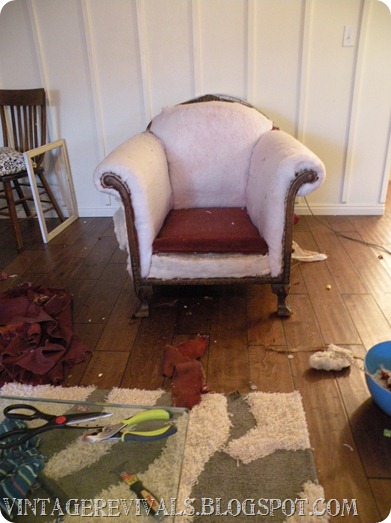
One its all stripped down it will look like this:
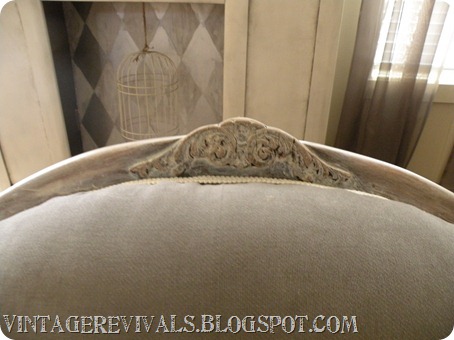
This is the part that you would paint if you are going to do that. I whitewashed mine with my favorite paint ever. Decoart’s Gloss Enamel in White. Its really thick and I use it for everything. I just mixed it with some water brushed it on and wiped it off. I did 4 or so layers to get the color that I wanted.
Ok back to the chair. I chose to not take the bottom part off because the cushion is covering it anyway and I was sick of pulling out staples.
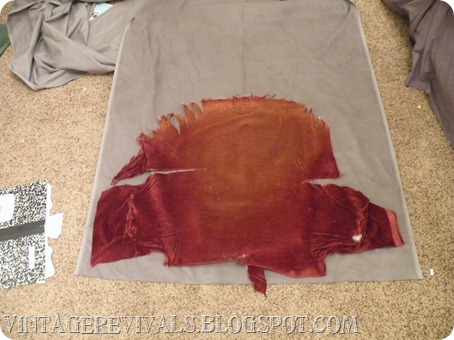
THen you are going to lay your fabric out and put your pieces on top of it. I always cut mine a little bit bigger. Especially in a project like this where there is very little sewing. That way you have more “grab” room to pull it tight. The fabric that I used was Gray Courdory (without the stripes.) It was $6.99/ YD (-40% off coupon) I bought 4 yards.
Then you are just going to go back and start with the last piece you took off and put that one on first. When I was doing it there was a lot of finagling to get things tight. I used my air compressor stapler and I really liked it.
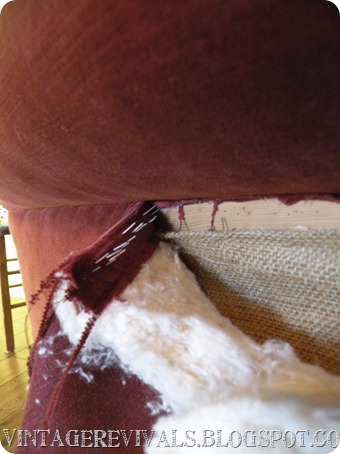
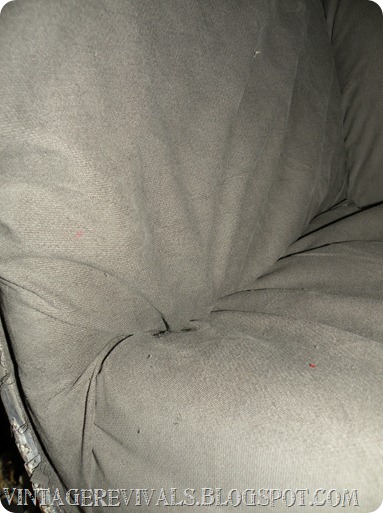
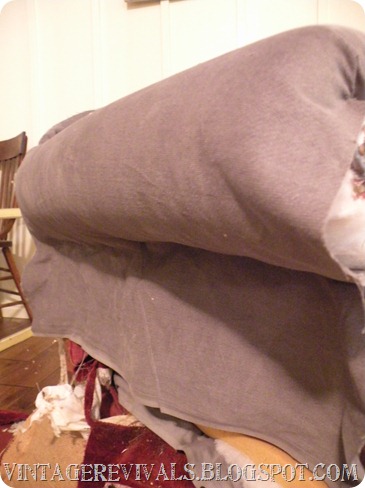
This next pic is of the inside of an arm. Can you see how much you have to pull and crap to make it look like an actual chair?
This is how I did the arms,
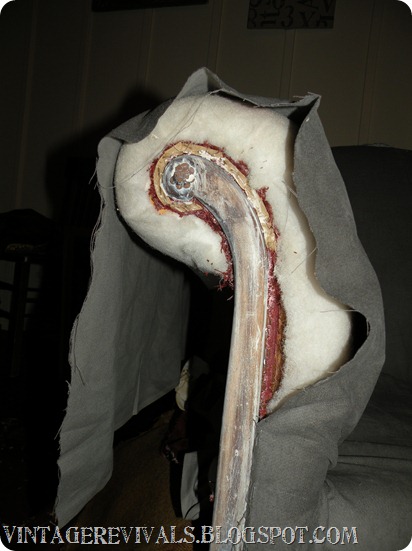
First you want to tuck and staple your fabric on the inside of the chair (next to the cushion)like the pic above
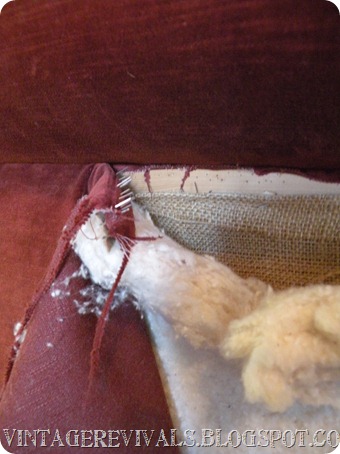
Start stapling along the edge (you can see in the bottom of the picture what I am talking aobut)
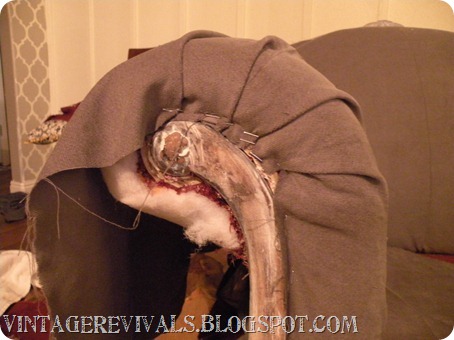
Then you are going to tuck the fabric as you roll it around the arm. Can you see how its not tight yet? That’s because the fabric at the back of the arm is not attached yet.
At this point I stapled the bottom of the arm. You want to make sure that the fabric is REALLY tight when you do this. And staple it as evenly and straight as possible. (not like what I did in this pic…)
Then you are going to finish tucking your rolls.
Pull the fabric back as tight as you can and staple the back of the arms.
Then you are going to add the side panel (The first thing that you took off.) I don’t have a pic cause I did this step at 2 in the morning and was clearly dilusional at this point)
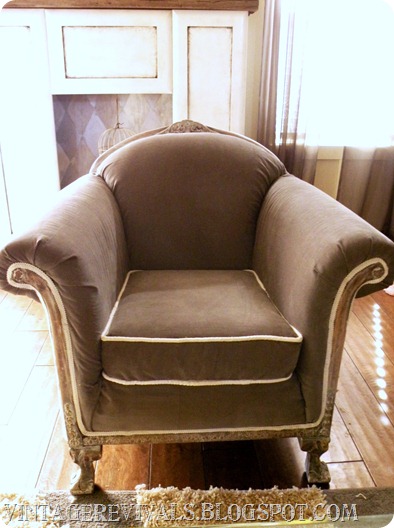
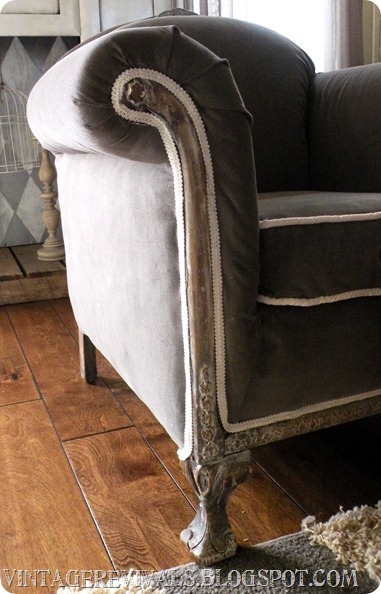
The you are going to add your trim and tada! You are done! Over all with sewing the cushion and everything I would say this project took me about 2 days.
I am really looking forward to another reupholstery project now that I kind of know how it works! If you have any advice to share please do!!

Cool beans!
omg so jelly about the beauty of the curves on that thing!
I did a chair makeover once with a staple fun and a spray can, it was lovely 😉
https://www.justinandashleyrefresh.com/2009/09/voila.html
You are so inspirational! I have 2 club chairs I have been wanting to reupholster but thought I couldn’t do it. I think I might try it now!
oh ive got one sitting FOREVER!!! I’m too intimidated to start and I have to pick fabric
Thanks for sharing! I have 2 chairs that I’m needing to recover, but I just had NO idea how to start!
This looks GREAT! Thanks for sharing! I need guts to tackle something like this… oh, and time!
That is sooo pretty, Mandi!
Turned out great! I need to try this, but have been afraid I wouldn’t get the new material back on!! I think I will attempt it 🙂
She is a beauty!!! I love the grey and contrasting trim, perfection 😀
So pretty!! It looks awesome!
You did SO good!!!! I think I would MUCH rather just have you come over and do it for me though….it scares me so to do it myself.
Now girl….you must help me. I just posted my curtain fabrics, and the decision is torturing my soul. I NEED HELP! (okay, that may just be middle child drama coming up, but still….it’s kind of a big deal.) =)
Great Job! I’m in the middle of a re-upholstery myself! I was actually using the same technique(deconstruction, make pattern, reconstruction), but mine has tufting so I’m nervous for that part. Your chair looks amazing!
Now you’re an upholsterer? What don’t you do? This is beautiful and so much better than what you started with…you can barely tell it’s the same chair!
Hi Mandi.
Great job! Upholstery is a hard project to tackle and definitely one you need the big girl panties on when you’re doing it!
I think the thing that’s been hardest for me is to really get the fabric pulled tight. You have to pull and then pull more than you think, but you have to keep the tension the same all the way or it looks weird.
I found that even after I hold the fabric tight, if I run my hand up the fabric from the bottom, I can usually push it even tighter, if that makes sense.
At any rate, you did a great job. If you ever need another set of eyes on your next upholstery project, you can always give me a shout out. I’m happy to help.
hiya mandi , love love love it but i think it would look better in my room ??? lol tfs
xmaggiex
Turned out beautifully – especially for not knowing what you are doing:) Love it!
I really like the way this turned out–especially the paint. I just finished an upholstery project & let me just put it this way–I won’t be quitting my day job! There’s a reason why they call it MAN-ual labor! 😀
Warmly, Michelle
it looks great!
I know this is totally off topic, but what kind of wood floors do you have? I’m remodeling and I want your floors!! Thanks.
Great job. It looks stunning!
I used your easy pillow cover tutorial. Posted it today.
https://luxeboulevard.blogspot.com/2011/03/throwback-thursday-party-his-and-hers.html
I don’t think I have the patience you do, but thanks for sharing your technique! I’ve always wondered how to reupholster
I worked at La-Z-Boy for 9 years. I have lots of tricks! 😉 We would use a flat head screwdriver that the head had been filed down thinner. Then there was a notch cut into it about 1/8 in (right in the middle of the flat head). This made it so you could wedge one side of the “blade” under the staple then roll it over and it pulled the staples out super fast. Plus it saves the fabric so you can make a better template. If you have any questions I’m happy to help! :))
somnad78(at)gmail(dot)com
I’m glad you posted this. I’m tackling a chair project myself this weekend. My chair has a bit of a different shape than yours so I hope I do as good a job as you did
thanks,
Bernadette @ agirlandherhome.blogspot.com
Good great job! Come do the 4 I have waiting in my mud room!
You continue to amaze me. You have inspired me to try a few projects myself. I was wondering if you or any others could help me. A few days ago I saw where you had asked others to post things they had done…I found some really cute ideas I wanted to do, but now I can’t find them. Are they still on you blog? If so where? Thanks for all the great ideas. I can’t wait to try some!
I have two chairs to do of which I have fabric for only one of them. I am so intimidated to do them! They don’t have beautifully curved arms like yours but still intimidated. I have a few other projects (remodeling my den, daughter”s and son’s rooms) that I need to completely finish first as well as some curtains. Thanks for the tutorial! I think I will definitely be able to use this as a reference when the time comes! If you can do it, then maybe I can too!
It is so much easier than it looks huh!! I re-upholstered a chair about a year ago… come have a look!
https://leighandbrian.blogspot.com/2010/03/obsessed-much.html
It looks great! I have two chairs sitting in my garage I need to work on. You’ve given me the motivation. 🙂
I just loved those classic furniture the ones of which pics are been posted, they look damn fabulous….
Wow, that looks seriously amazing and I really love the color!
I have a chair just like this I inherited from my grandma. I have been wanting to get it re-upholstered for years! You inspired me to try to do it myself, I will let you know how it turns out. Yours looks great!
OMG, the result looks amazing. Well done!!!
so…I was thinking of you (per the normal routine of my day) and was thinking..hmm…I have never seen your bedroom. Yeah. that’s right. I’m calling you on it. unless i missed it somewhere.>..i want to see!
I so needed this! I have a couch that needs redone so this came at a perfect time.
Ok, I LOVE your blog! I posted a comment last week asking about reupholstering, and here you are out with it. You rock! I love how your chair turned out. I have two chairs currently that I am just sick of, but I don’t want to run out and replace them. Good looking shapes, but with fabric I am OVER. Can’t wait to tackle them after I find the perfect fabric – on clearance, of course.
Love this! i wish i could reupholster so bad! so is it true that there was no sewing involved? Do you think mostly everything can be recovered without owning a sewing machine? please say yes!
love your guts.
Wow-that is fab-u-lous!
Wow, I love how the chair turned out. I have a few chairs I would love to reupholster. Now I’m going to try it!
1st thing on my yard sale list….CHAIR! I have to try this! Awesome job by the way.
I have some advice for ya sistah! DO A CHAIR FOR ME TOO! It’s dang PUUUUURRRRDY!
Jennie {Cinnaberry Suite}
Yea, that is pretty dope! Great chair to begin with -but you totally made it rock. Found your blog from Tatertots & Jello and am your newest follower. Can’t wait to look at more of your projects.
You did a fabulous job on this chair! It looks wonderful! I love tutorials for reupholstery, I wrote one for a chair I did and they are so helpful to people! I’d love to have you link this to my VIP party today! https://designergarden.blogspot.com/2011/03/vip-party-9.html
Awesome. I just recently came across your blog and I love it. You’ve really inspired me. One question, did you glue on the trim around the bottom cushion as well? Thanks!
This is pretty amazing! My hubby has an air stapler, I could so try this. Now I must find a cool chair to deconstruct!
Good idea again, you have a lot of them. Turned out very nice….
…I re-upholstered a loveseat with a GLUEGUN. The loveseat had all straight lines, so I didn’t need a pattern, just a measuring stick. I used corduroy and denim..
…it lasted over 15 years, was still holding tight!..
…I am Blue Wolf…
This chair like everything else that you touch is perfection! I am trying to find grey soft fabric like this for a Glider that I am redoing for my baby rooms. Where did you get this awesome fabric???
I have a chair almost exactly like this one! It has really TALL sides… kind of an Alice in Wonderland feel. It is sitting in the middle of my living room, DARING me to begin! I don’t even have the fabric yet – but the more it sits there, the more things I want to do around it, like paint, and flooring… but you have motivated me to get my coupon and get my fabric! The worst that can happen, is I will hate it, and start over again, right? Maybe the chair will help me decide my wall colors! Thanks for the post… and thanks for being honest about “messy houses” – we all have them… me especially! You always make me smile!
I thought you’d like to know your tutorial helped me on parts of my couch reupholstering. It turned out great! You can see mine here: https://asdeckerfamily.wordpress.com/2014/04/07/reupholstering-the-couch/