Remember this {post}? If not I will refresh your memory.
It all started with this:

A beautiful chandy from PB that was $300.00. I love it, dont you?
So I was on the hunt and found this:
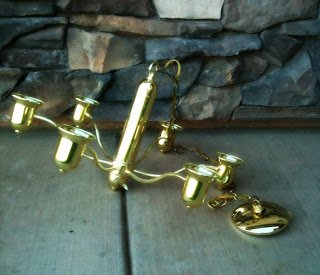
I really liked how it was more curvy than the one from PB and I REALLY REALLY liked that she was only $20.00.
So I loaded up on a MASSIVE amount of supplies (tacky glue and Jute) and started doing this:
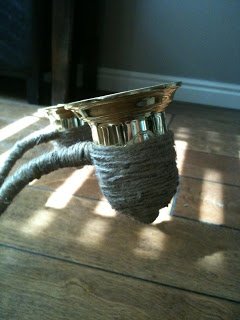
I started at the bottom of the chandelier. I put some glue down and wrapped up to where the arms started to come out. Because I wanted it to look clean I cut 5 pieces of jute (about 3 inches each) and glued them with their ends poking out against the arm (see picture) and then I just tied a small piece around it to hold them in place.
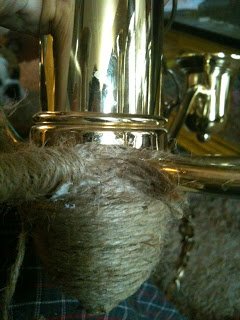
Then I started wrapping the base of the arms. I started in the middle right below the arm and wrapped down to the bottom:
Then I used the same technique that I did on the main part of the chandy. I cut 5 pieces and wrapped them all the way around so that each end was by the arm and tied it to hold it in place.
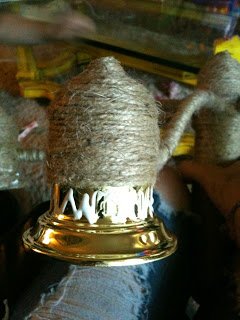
Once that was done I started wrapping the actual arm. Make sure that all of the wonky end pieces are tucked in when you start wrapping. Wrap all the way to the other end and make sure that all of those pieces are tucked in too.
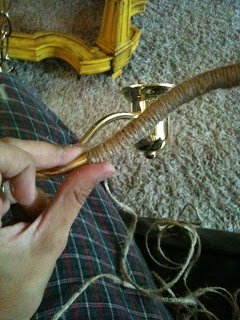
This is what it will look like
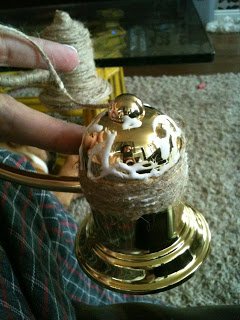
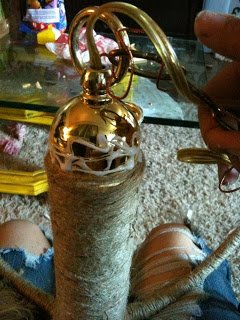
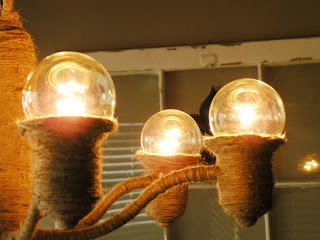
Do that for each arm. Next you are going to wrap the top part of the lights. Put your glue on like this:
and start wrapping like Jay-Z. Ha ha ha I had to get a joke in there somewhere!
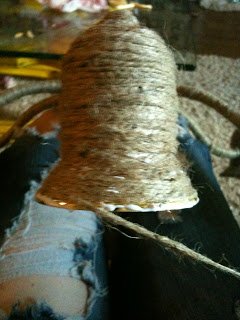
Go all the way to the end and then flip it over and carefully wrap the upper lip
Finish wrapping the whole body and your done!
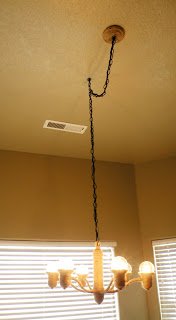
INSTALLATION:
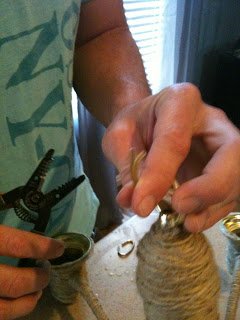
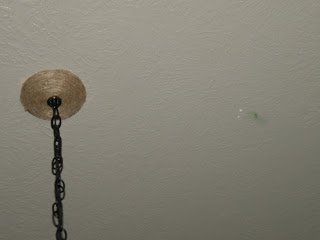
The chain and electrical cord were way to short on the chandy that I bought because the people who build our house are dumb, so we had to change them out. Court cut the wires and stripped them
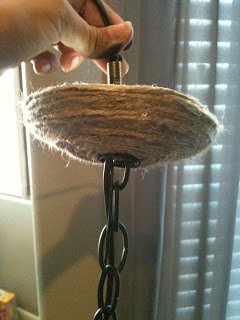
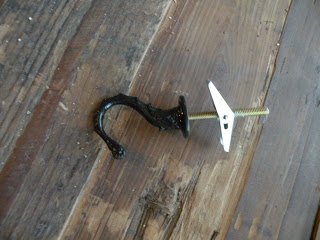
Then he spliced them together and put a new chain on. Obviously you need to weave the wires and the chain blah blah blah. Put your ceiling plate on. And your installation hardware.
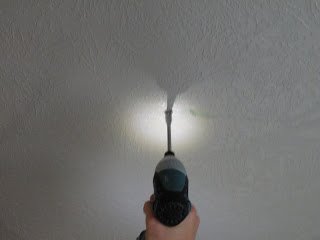
Screw them to the ceiling and connect them to the house wires. You should prob have an electrition do it unless your husband is as manly as mine and likes to do everything himself.
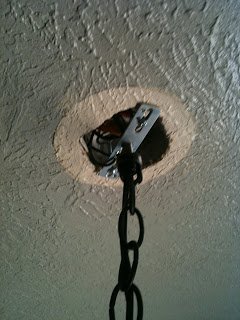
Screw on your ceiling plate and if nesscary attach a hook to center it on your table.
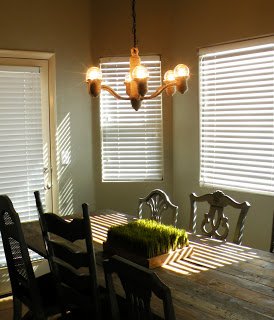
Your chandy should hang about 30 inches above your table top.
Then stand back and make sure that nothing catches on fire! And admire your handiness and the fact that you saved $270.00.
Total Cost Of This Treasure:
Chandelier $20.00
Cord, Chain, Ceiling Hook: $19.00
Jute: $1.89ish
Grand Total: $40.89
Pretty Sweet!
Make sure you join our first ever linky party with your thrift store treasures tomorrow for “Look What I Found Friday”
FABULOUS! Mandi, you did such a great job on this! It looks like A LOT of work to cover that whole chandelier! 🙂 I’m SO impressed — and I like yours even better than the PB one. It looks like it totally belongs in your dining room. 🙂 Nice job, girl!
you have some patience! but it pays off!
YOU GO GIRLFRIEND! =) It turned out super duper FABULOUS! What a fun party theme too. I keep trying to think of a party to start. The right one just hasn’t come to me yet. Oh well, ONE day! I will SO be linkin’ up to yours. Have a happy day!
Jennie
Brilliant my dear! What a way to get what you want…and I love the Jay-z reference! Thanks so much for stopping by my blog with your sweet comment!
XO
Lenore
wow, I love this. So unique! I just started a chandy redo myself! It’s not up yet, but I’m posting when it is! (and all I did was paint…)
Score one for you. What a great find. I also prefer the chandy that you found to the one in the PB cat. Way to go lady!
I love PB, but they are insane with their prices so I love a PB Knockoff even more! Great job!!
Found you via the Weekend Wrap-up Party.
Wow – what a great project. I love the twine – it’s so nautical looking. Great idea!
XOXO
Jen
This is so amazing! What a great idea! And I agree that yours looks way better than PB’s.
WOW! I love this too!
I was just admiring this the other day…looks great.
I was just waiting for someone to do this. And you did it! It looks FABULOUS! Better than Pottery Barn.
Well done!
This looks awesome! I love it!! Great job.
Looks great–I can imagine you were a sticky mess!
I can’t believe this is the first I am seeing this! Where have I been? Anyway, this is amazing and I am so inspired to wrap everything in my house with jute! Ha, I’ll try to proactive some self control, but if I do complete a project, you can find it here:
http://www.agirlandakey.blogspot.com
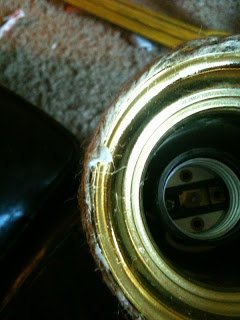
What kind of lightbulbs did you use? I am looking to change up the style of my chandy, and these bulbs are awesome!