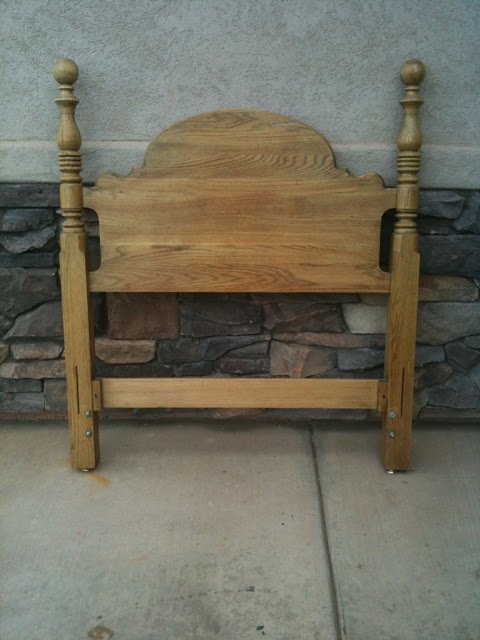
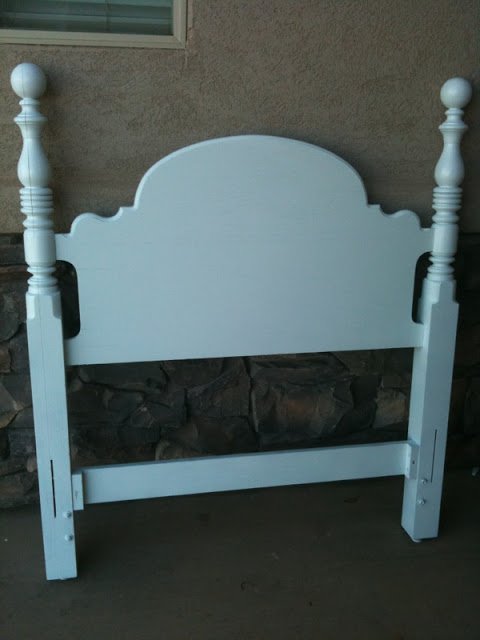
I found this wonderfullness at the DI in Sandy for $5.00 {insanity} my dad thought I was crazy when I bought it because um…I have to get it home. He tied it to the roof rack on our car and we all survived the trip. I have actually bought 2 headboards for Ivies room but they just weren’t quite right. This one is Perfect. Its exactly like I wanted. Here is the step by step process that I used to refinish it.
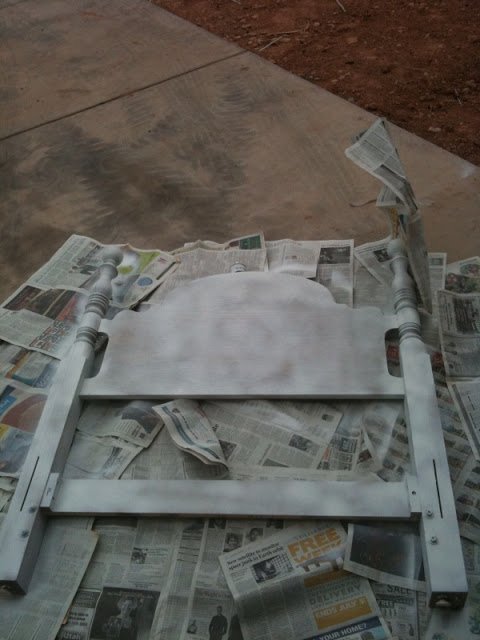
Ok so first I primed the lovely with spray primer. I have tried a few different ones. Kilz is awesome because it has great coverage but it took me 2 pieces of furniture to get the hang of using it. The problem is that it didnt leave a really smooth finish {kind of sandpaperish} So while I was buying spray paint last night I decided to try Krylon Primer. It really doesnt have the type of coverage that Kilz does but it doesnt leave everything sandpapery and its 1/2 the price. My suggestion try both of them out to see which one you like better {just not on the same peice of furniture} Personally I think that I will still use the Kilz. Its faster because you dont have to do as many coats of primer and of paint.
{See how un-even it looks….thats bad.}
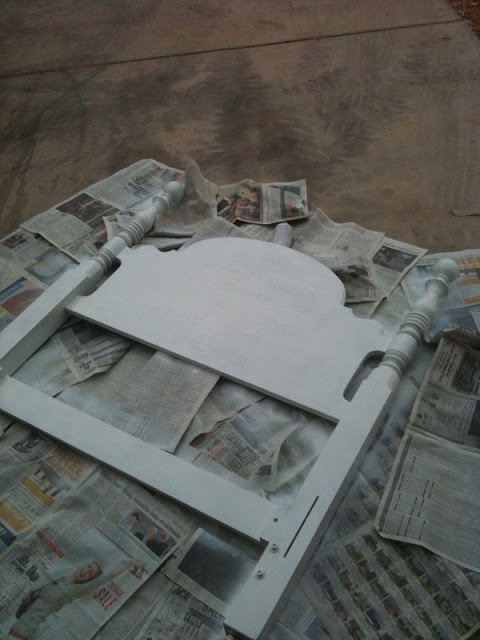
This is after 2 coats of primer and 1 coat of Krylon Classic White Gloss paint. Make sure that you let each layer dry before you put down the next!
Finally done painting!
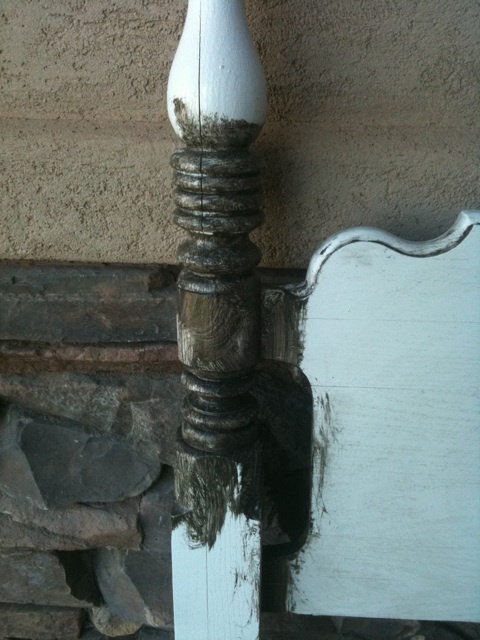
Ok so next I glazed it. This was something that I learned from All Things Thrifty. I was a glazing virgin but it is SOOOO easy. Everyone kind of falls into their own technique so this is mine.
Step 1. Get your gear. I LOVE those cheapie $1.00 brushes at home depot or walmart because their bristles are really stiff and when you glaze you are trying to get it in every nook and cranny. Soft brushes dont seem to work as well and they are usually more expensive and it makes me cringe jammng a nice brush into something. I use Ralph Lauren Faux Tintable Glaze in Black Silk. You can get it for $13 or $14 from Home Depot. One container lasted me about 6 big projects. The last thing that you will need is something to wipe your glaze off with. The size of my project determines the size of my material. When I did 3 big pieces for my living room I used a sheet. To do this headboard I used an old t shirt. Get 1/2 of it wet. You will also want one that is just wet.
Step 2. Slather medium sized sections. You want to have the chance to wipe it off before it dries. Like this……..
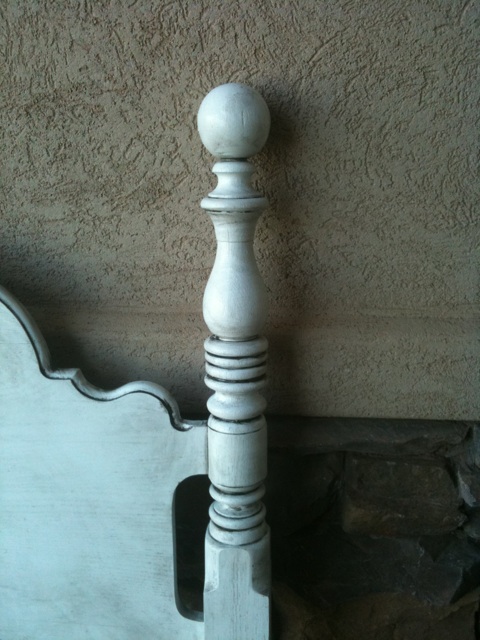
Step 3. Wipe Wipe Wipe! Start with the wet half of your cloth. This will get the bulk of your glaze off. Dont worry about it all being off just a good chunk of it. Then I switch to the dry size of the same cloth and buff the rest off. Next I use cloth #2 that is all wet and wipe it off again. This makes it so that its not super dingy looking all over. Ta Da! Just repeat until you are all done.
While I was in SLC my sister moved into a new house. She bought some super cute stuff at the DI that we painted and glazed. One of the pieces had 4 cupboard doors on it. Miranda, Sierra, Amanda, and myself each took a door. It was really interesting to see how DIFFERENTLY each turned out. Miranda and I like a really heavy dark glaze and her roomates liked it only in the tiny cracks that they couldnt reach. I am only telling you this to show you that there is no wrong way. If you can hold a can of hairspray and wipe off your kitchen counters you can be a refurb master too!
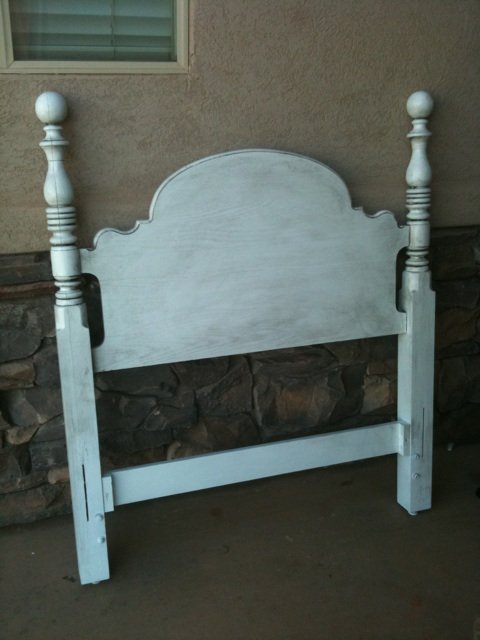
Total Cost of this Treasure:
Headboard $5.00
1 can of Krylon Primer: $2.67
11/2 cans of Krylon Spray Paint: 4.00
Glaze Previously Purchased
=$11.67
SA—WEEET!
8 thoughts on “Ivie’s Perfect Headboard”
I’m amazed by not only your talents, but your bravery as well. I destroy every craft or renovation project that I touch. I have other gifts, but this is NOT one of them! lol I wish it were…
This blog is so inspiring, I’ve been waiting to find the perfect “gently used” piece to try out a glazing technique that I see here and also saw on All Things Thrifty. Thanks for the step by step!
btw..did you have to sand off any existing varnish on the headboard before priming with the Kiltz?
Love it!! I just bought a headboard for our daughters room at a used furniture place for $10 and can’t wait to refinish it. I was thinking it was going to be a ton of work so I have been putting it off but you make it look like a breeze and give me hope for finishing it!! Thanks for sharing 🙂
Hey Mandi, Usually I just lurk in the blog shadows and admire your courage and ideas from afar. I love this post for your glazing info. I first tried glazing and it came out looking like I burned the lamp in a fire. My second attempt was better after reading your blog. I have a question I noticed that the headboard has a slot for rails. Did you just drill holes to attach a metal frame, or do you have the rails??? Thanks, Hal
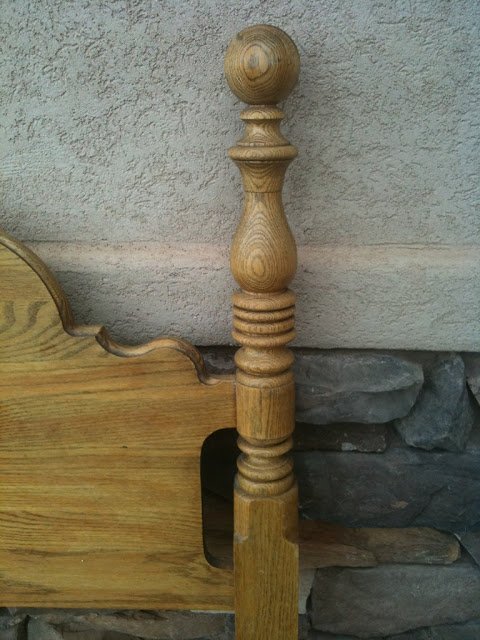
I understand that you likely were matching other furniture in the room, but that looks like solid oak, or some hard wood, and it just seems such a shame not to re-finsh, not that much more trouble really, and bring out, show, the beauty of that real wood. Just sayin’ ……
I’m amazed by not only your talents, but your bravery as well. I destroy every craft or renovation project that I touch. I have other gifts, but this is NOT one of them! lol I wish it were…
Looks great! Can’t wait to see the chairs all done!
This blog is so inspiring, I’ve been waiting to find the perfect “gently used” piece to try out a glazing technique that I see here and also saw on All Things Thrifty. Thanks for the step by step!
btw..did you have to sand off any existing varnish on the headboard before priming with the Kiltz?
Love it!! I just bought a headboard for our daughters room at a used furniture place for $10 and can’t wait to refinish it. I was thinking it was going to be a ton of work so I have been putting it off but you make it look like a breeze and give me hope for finishing it!! Thanks for sharing 🙂
I’m so happy I found your blog via watching you on Studio 5. You are so creative and your tutorials are great! Thanks for all the inspiration.
Hey Mandi,
Usually I just lurk in the blog shadows and admire your courage and ideas from afar. I love this post for your glazing info. I first tried glazing and it came out looking like I burned the lamp in a fire. My second attempt was better after reading your blog.
I have a question I noticed that the headboard has a slot for rails. Did you just drill holes to attach a metal frame, or do you have the rails???
Thanks,
Hal
I understand that you likely were matching other furniture in the room, but that looks like solid oak, or some hard wood, and it just seems such a shame not to re-finsh, not that much more trouble really, and bring out, show, the beauty of that real wood. Just sayin’ ……
That not only looks awesome but simple. I love your hairspray and cleaner comment because it makes me feel like there’s hope for me. Thanks a bunch.